I can hardly remember a time when I didn’t paint. By the age of 10, I wanted to be a professional artist. Now, my art is inspired by my curiosity of the world; painting something forces you to look closely at it with patience. Here are my tips for getting started:
- Get a decent drawing down to give you confidence at the painting stage.
- Build up slowly. Using plenty of pigment, slowly add layers, ensuring that each layer below is dry first.
- As you go make sure your water is always clean. Don’t let it go muddy.
For this piece, I used Cass Art paints, but most of the colours listed are standard watercolours used by other brands. Follow these steps or follow your own ideas. The best results come from enjoying the process and having fun!
1. Choose your subject
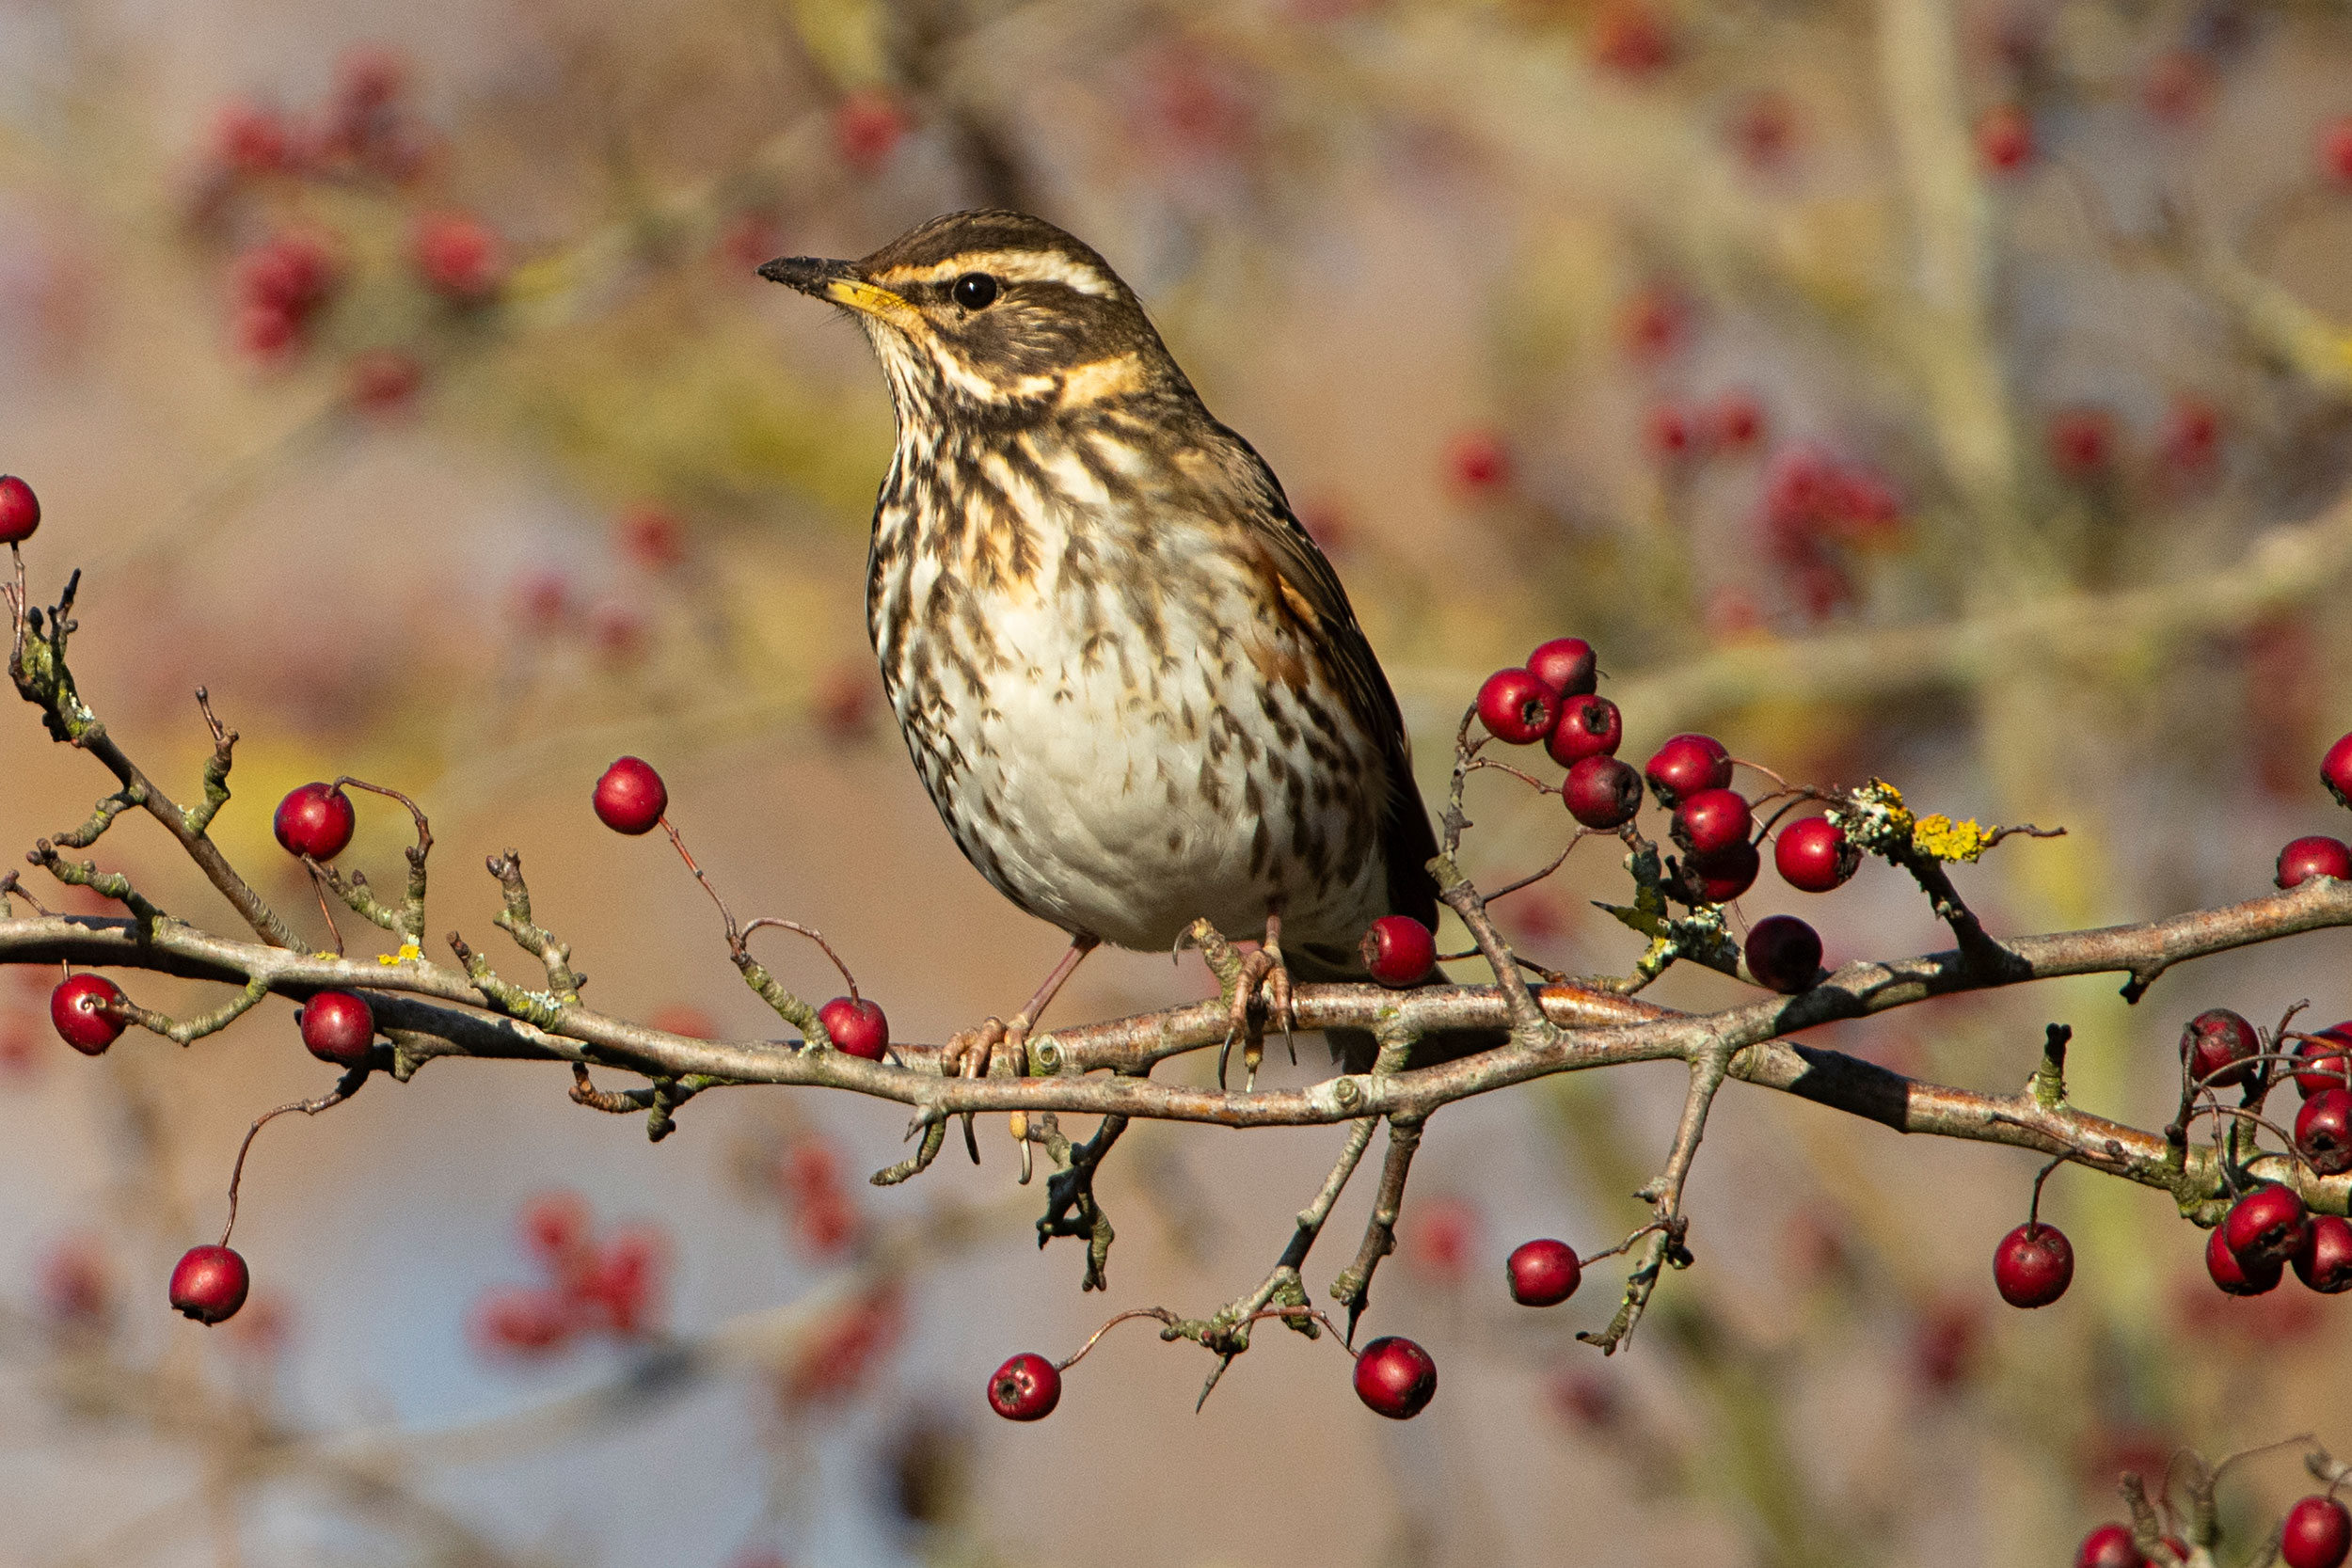
Redwing. Photo: Ben Andrew (rspb-images.com)
Take some clear photographs to work from, or use someone else’s with permission. You could trace over these for the shape as you’re getting started.
2. Create your outline
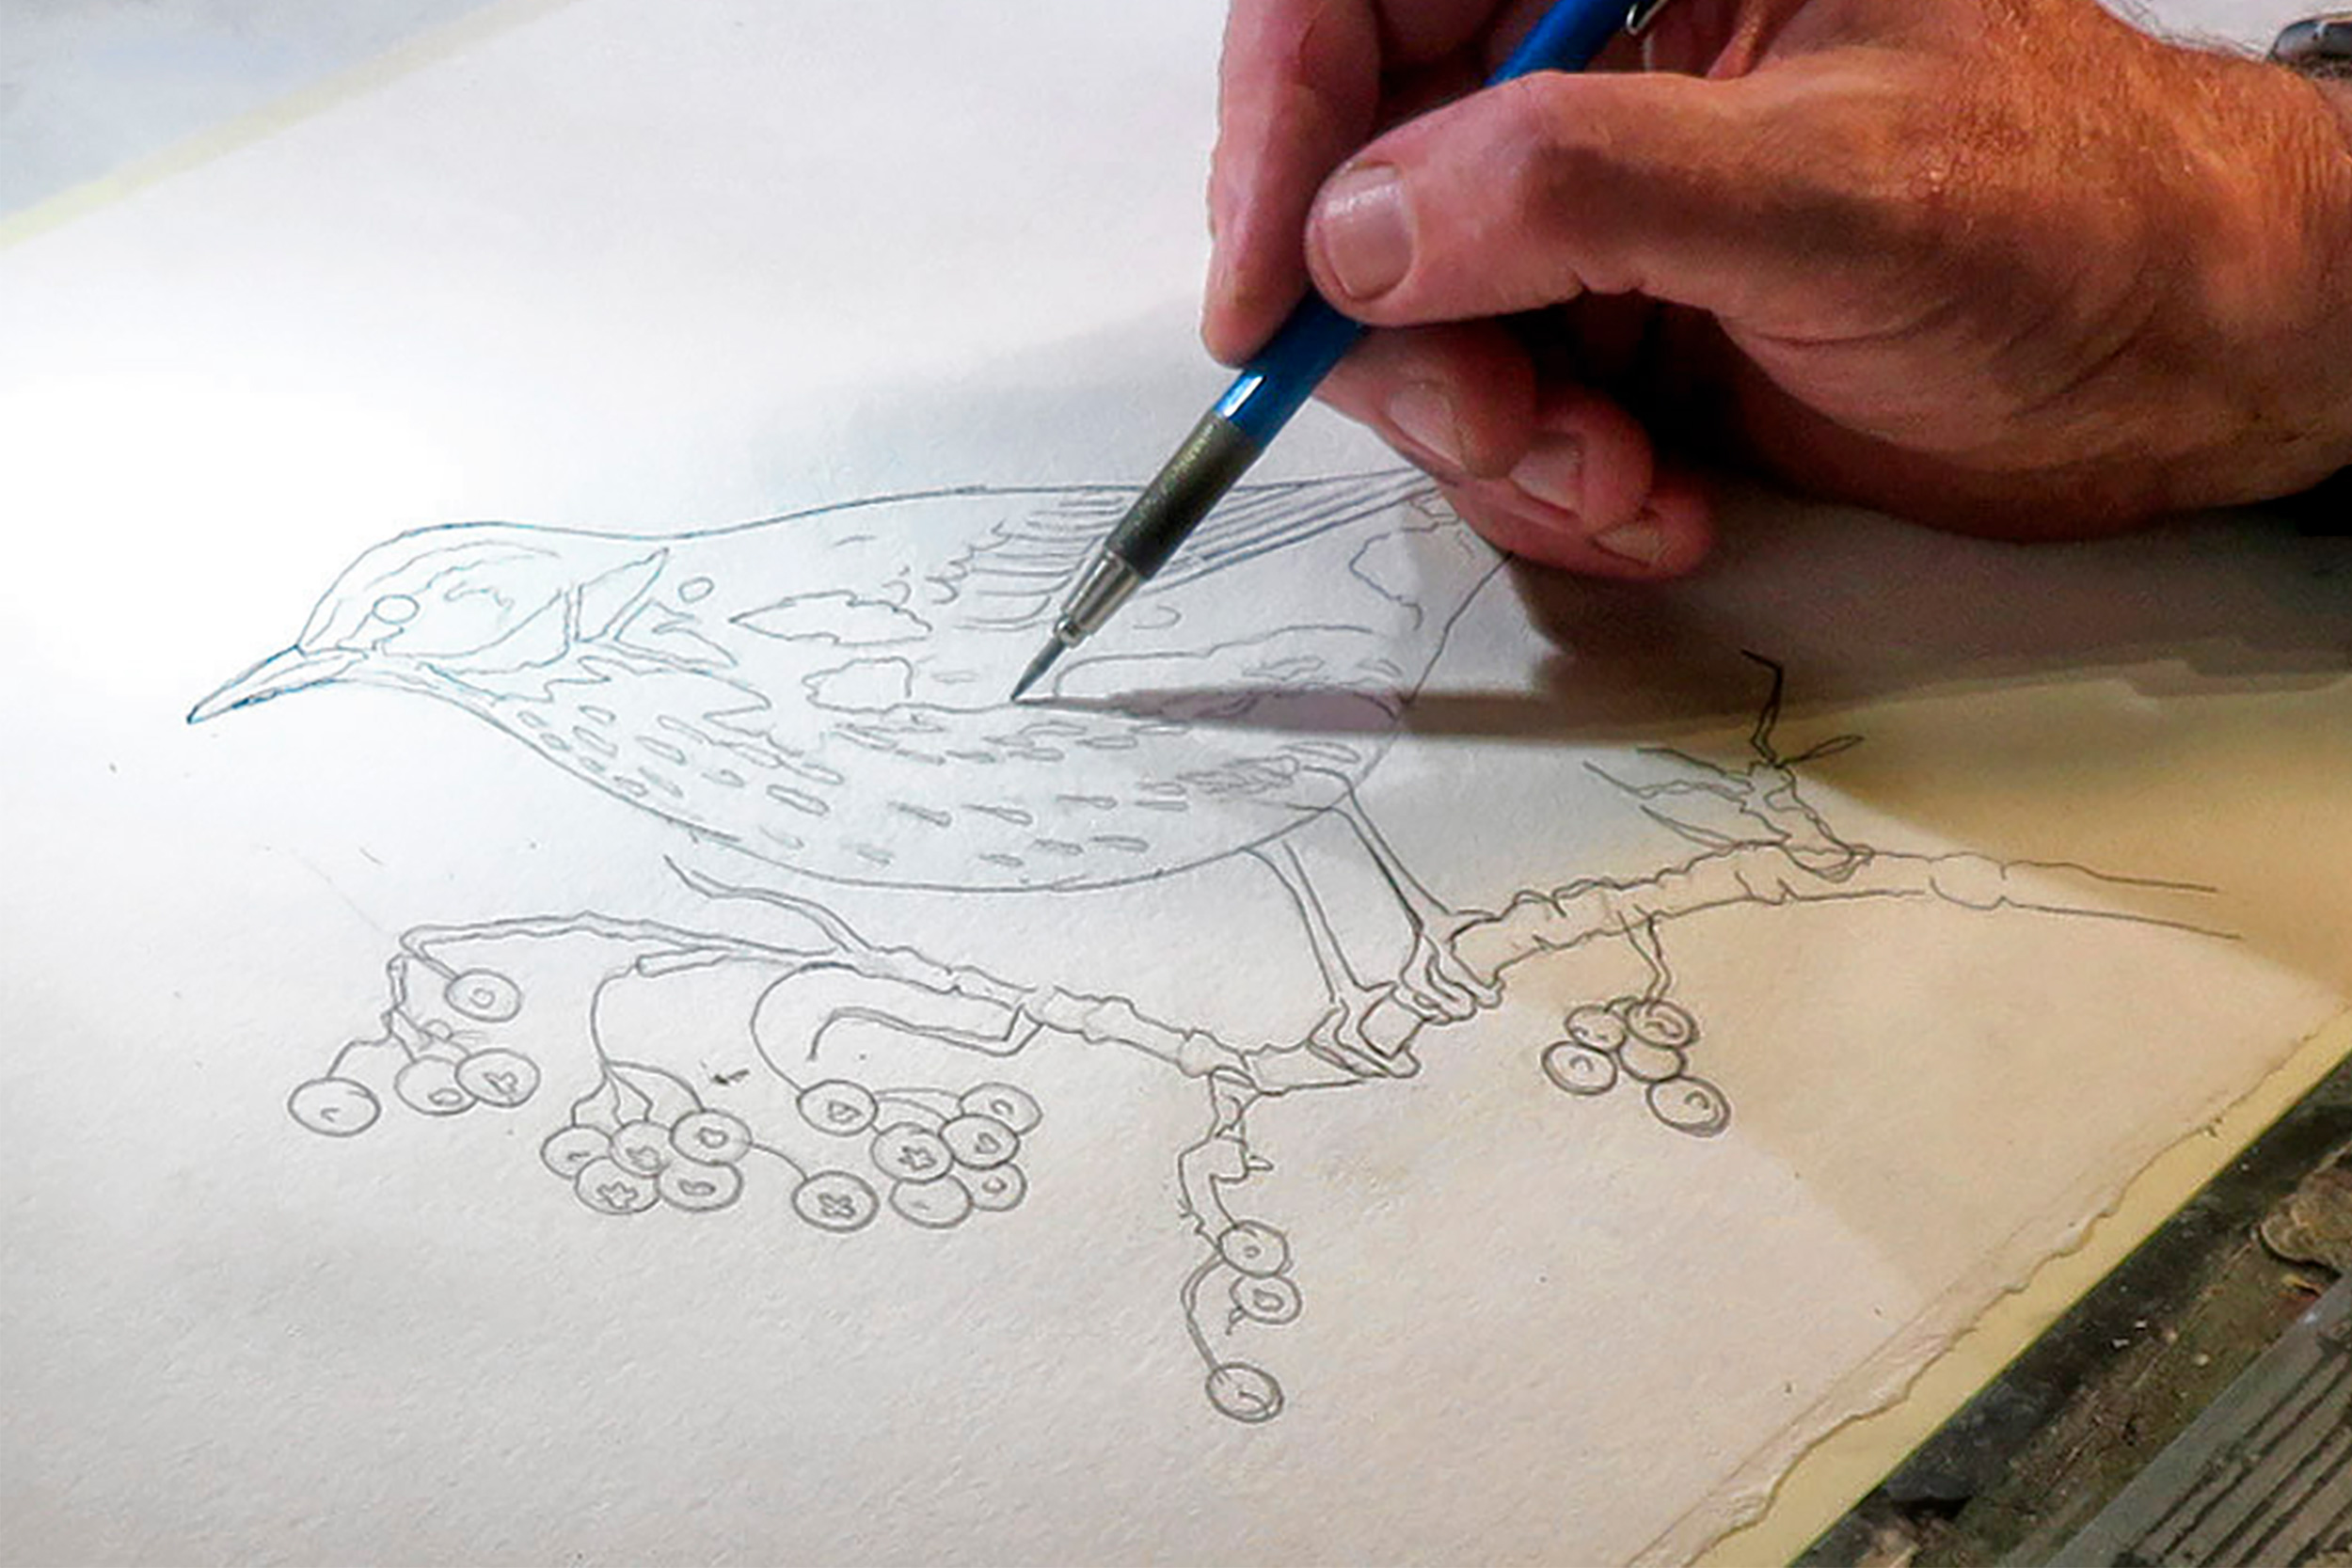
Begin by sketching your subject, ensuring the outline is accurate. Then carefully develop details. Good preparation is essential.
3. Add your base colours
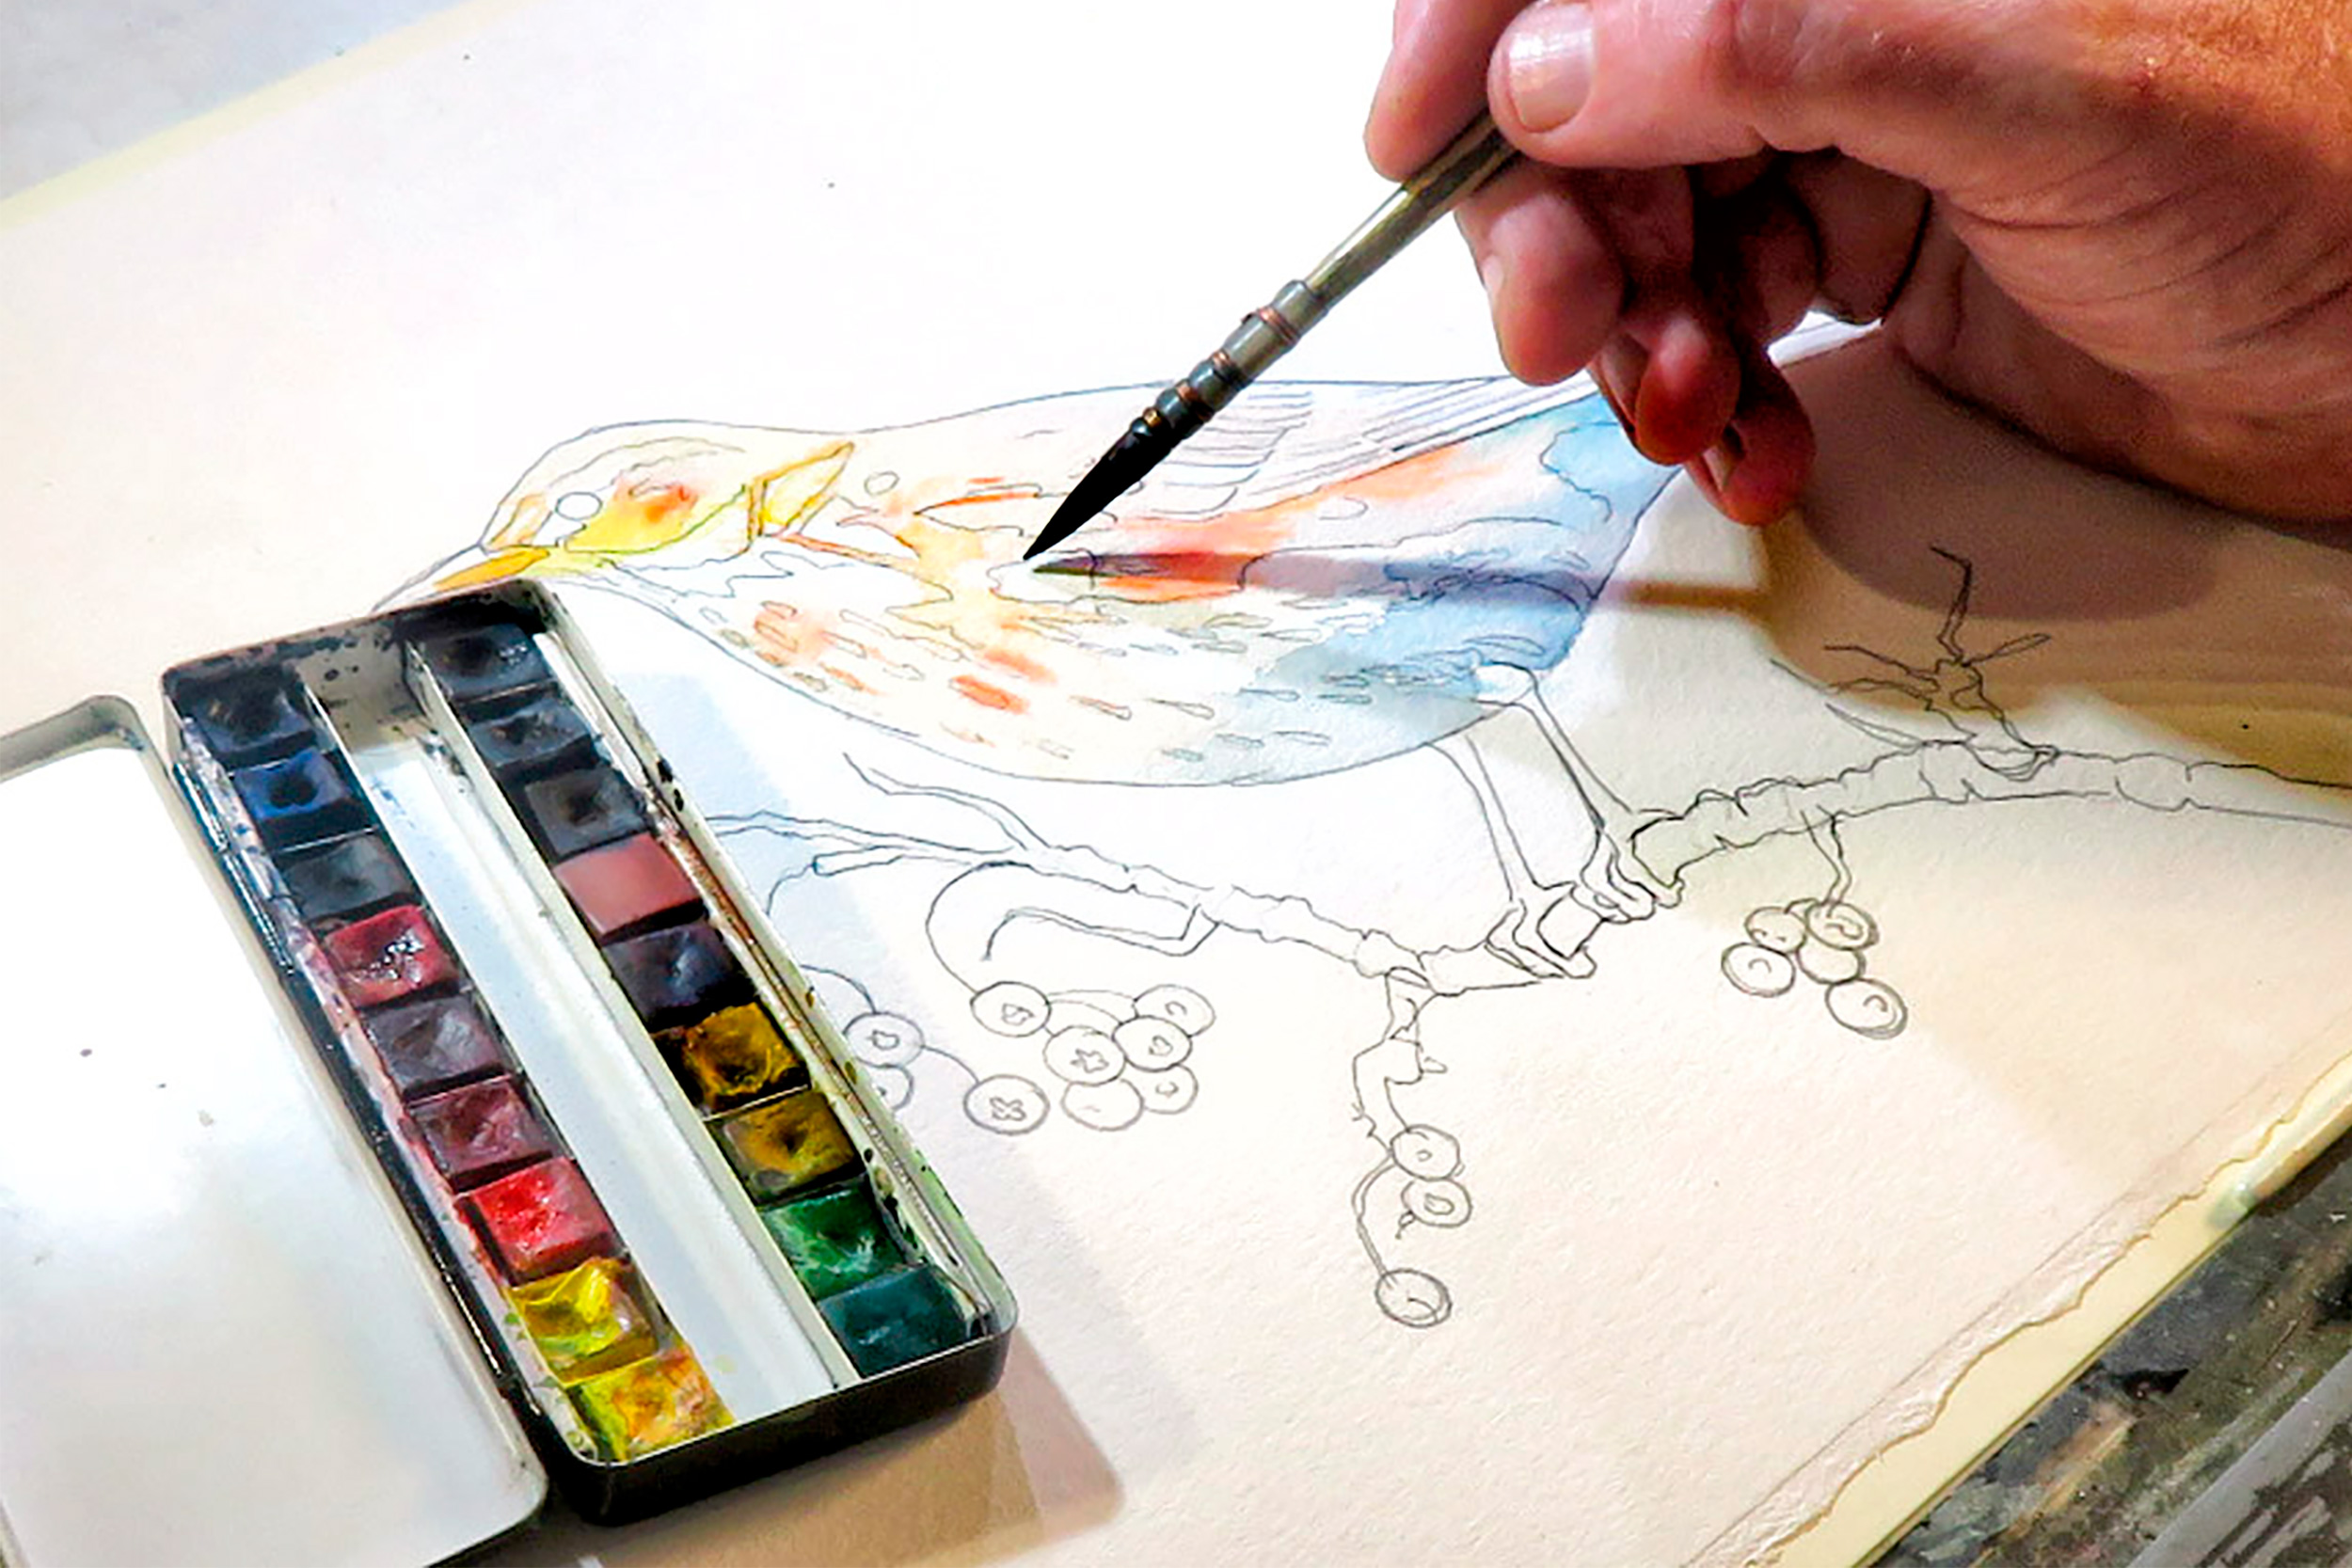
Apply a light wash of Indian Yellow and orange (I used Winsor Orange). Then add a light wash of Prussian Blue to the underside with Pyles Grey to create an effective shadow.
4. Build your background
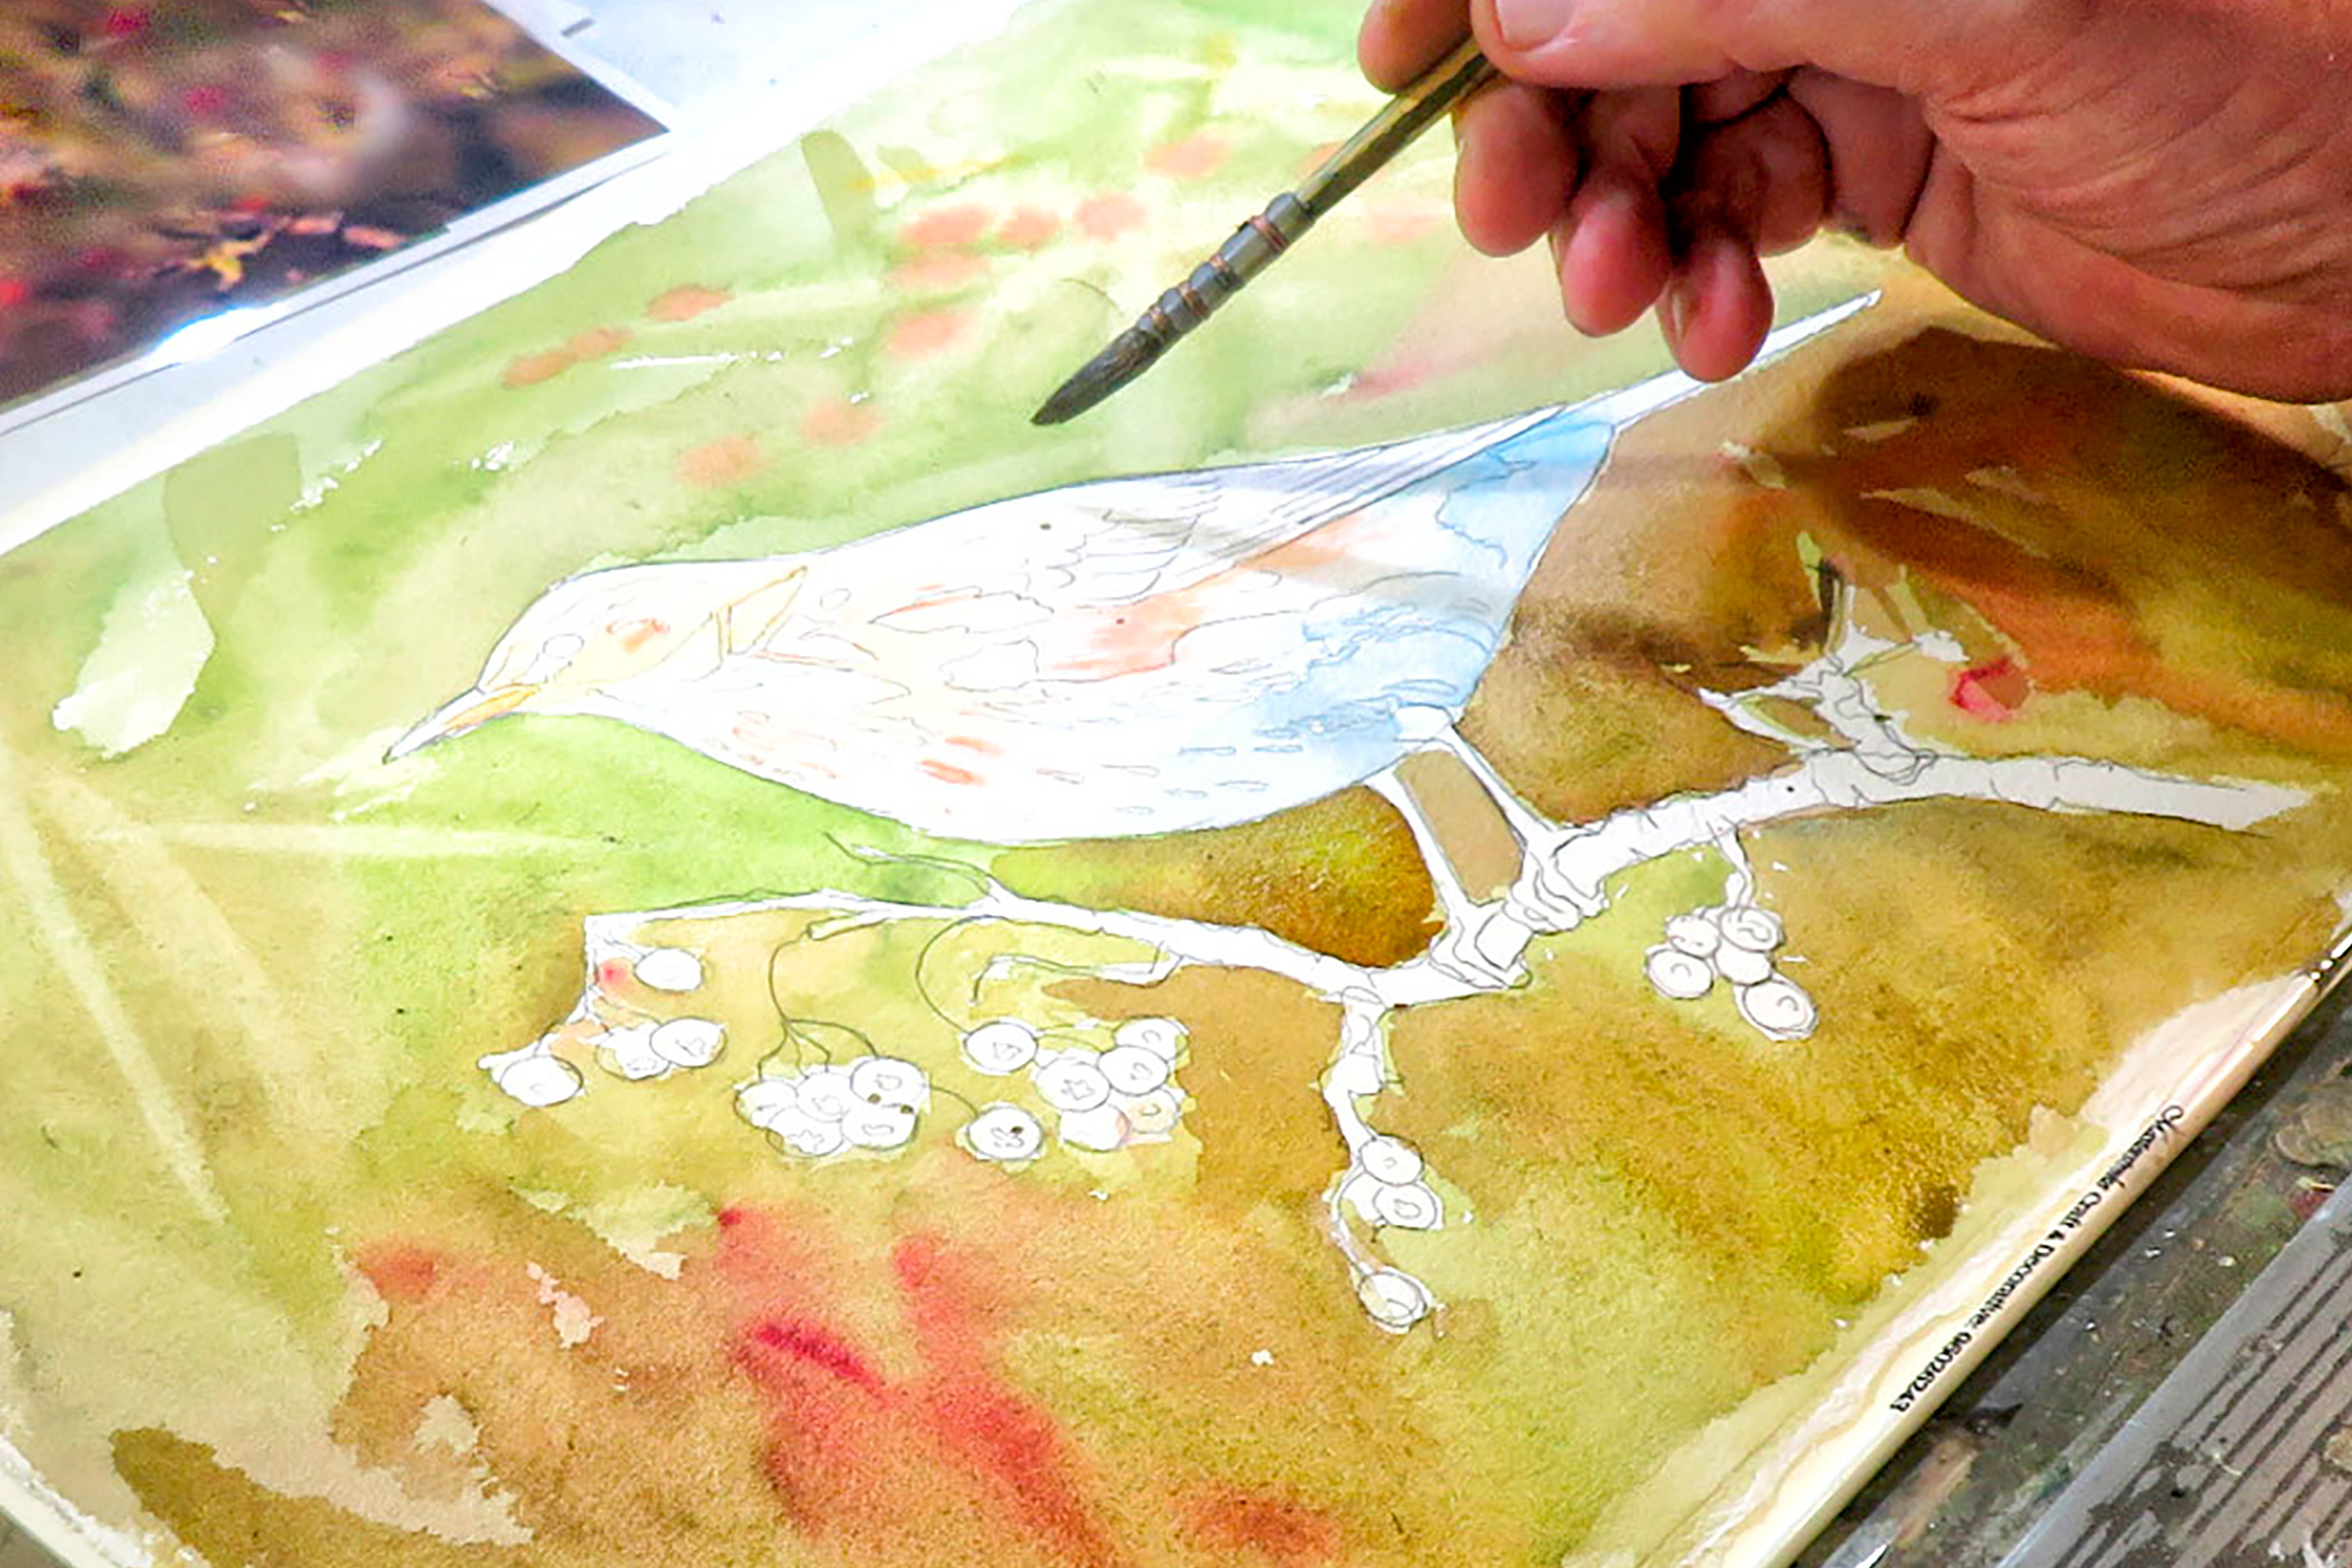
Apply a wash of Cadmium Red and French Ultramarine with yellow (I used Winsor Yellow) to the background. Add depth with Burnt Umber, Indian Yellow and Permanent Rose.
5. Begin adding detail
Mix Burnt Umber and French Ultramarine and paint the plumage in the direction it lies. Wet the paper on the belly first to create a soft, blurred effect.
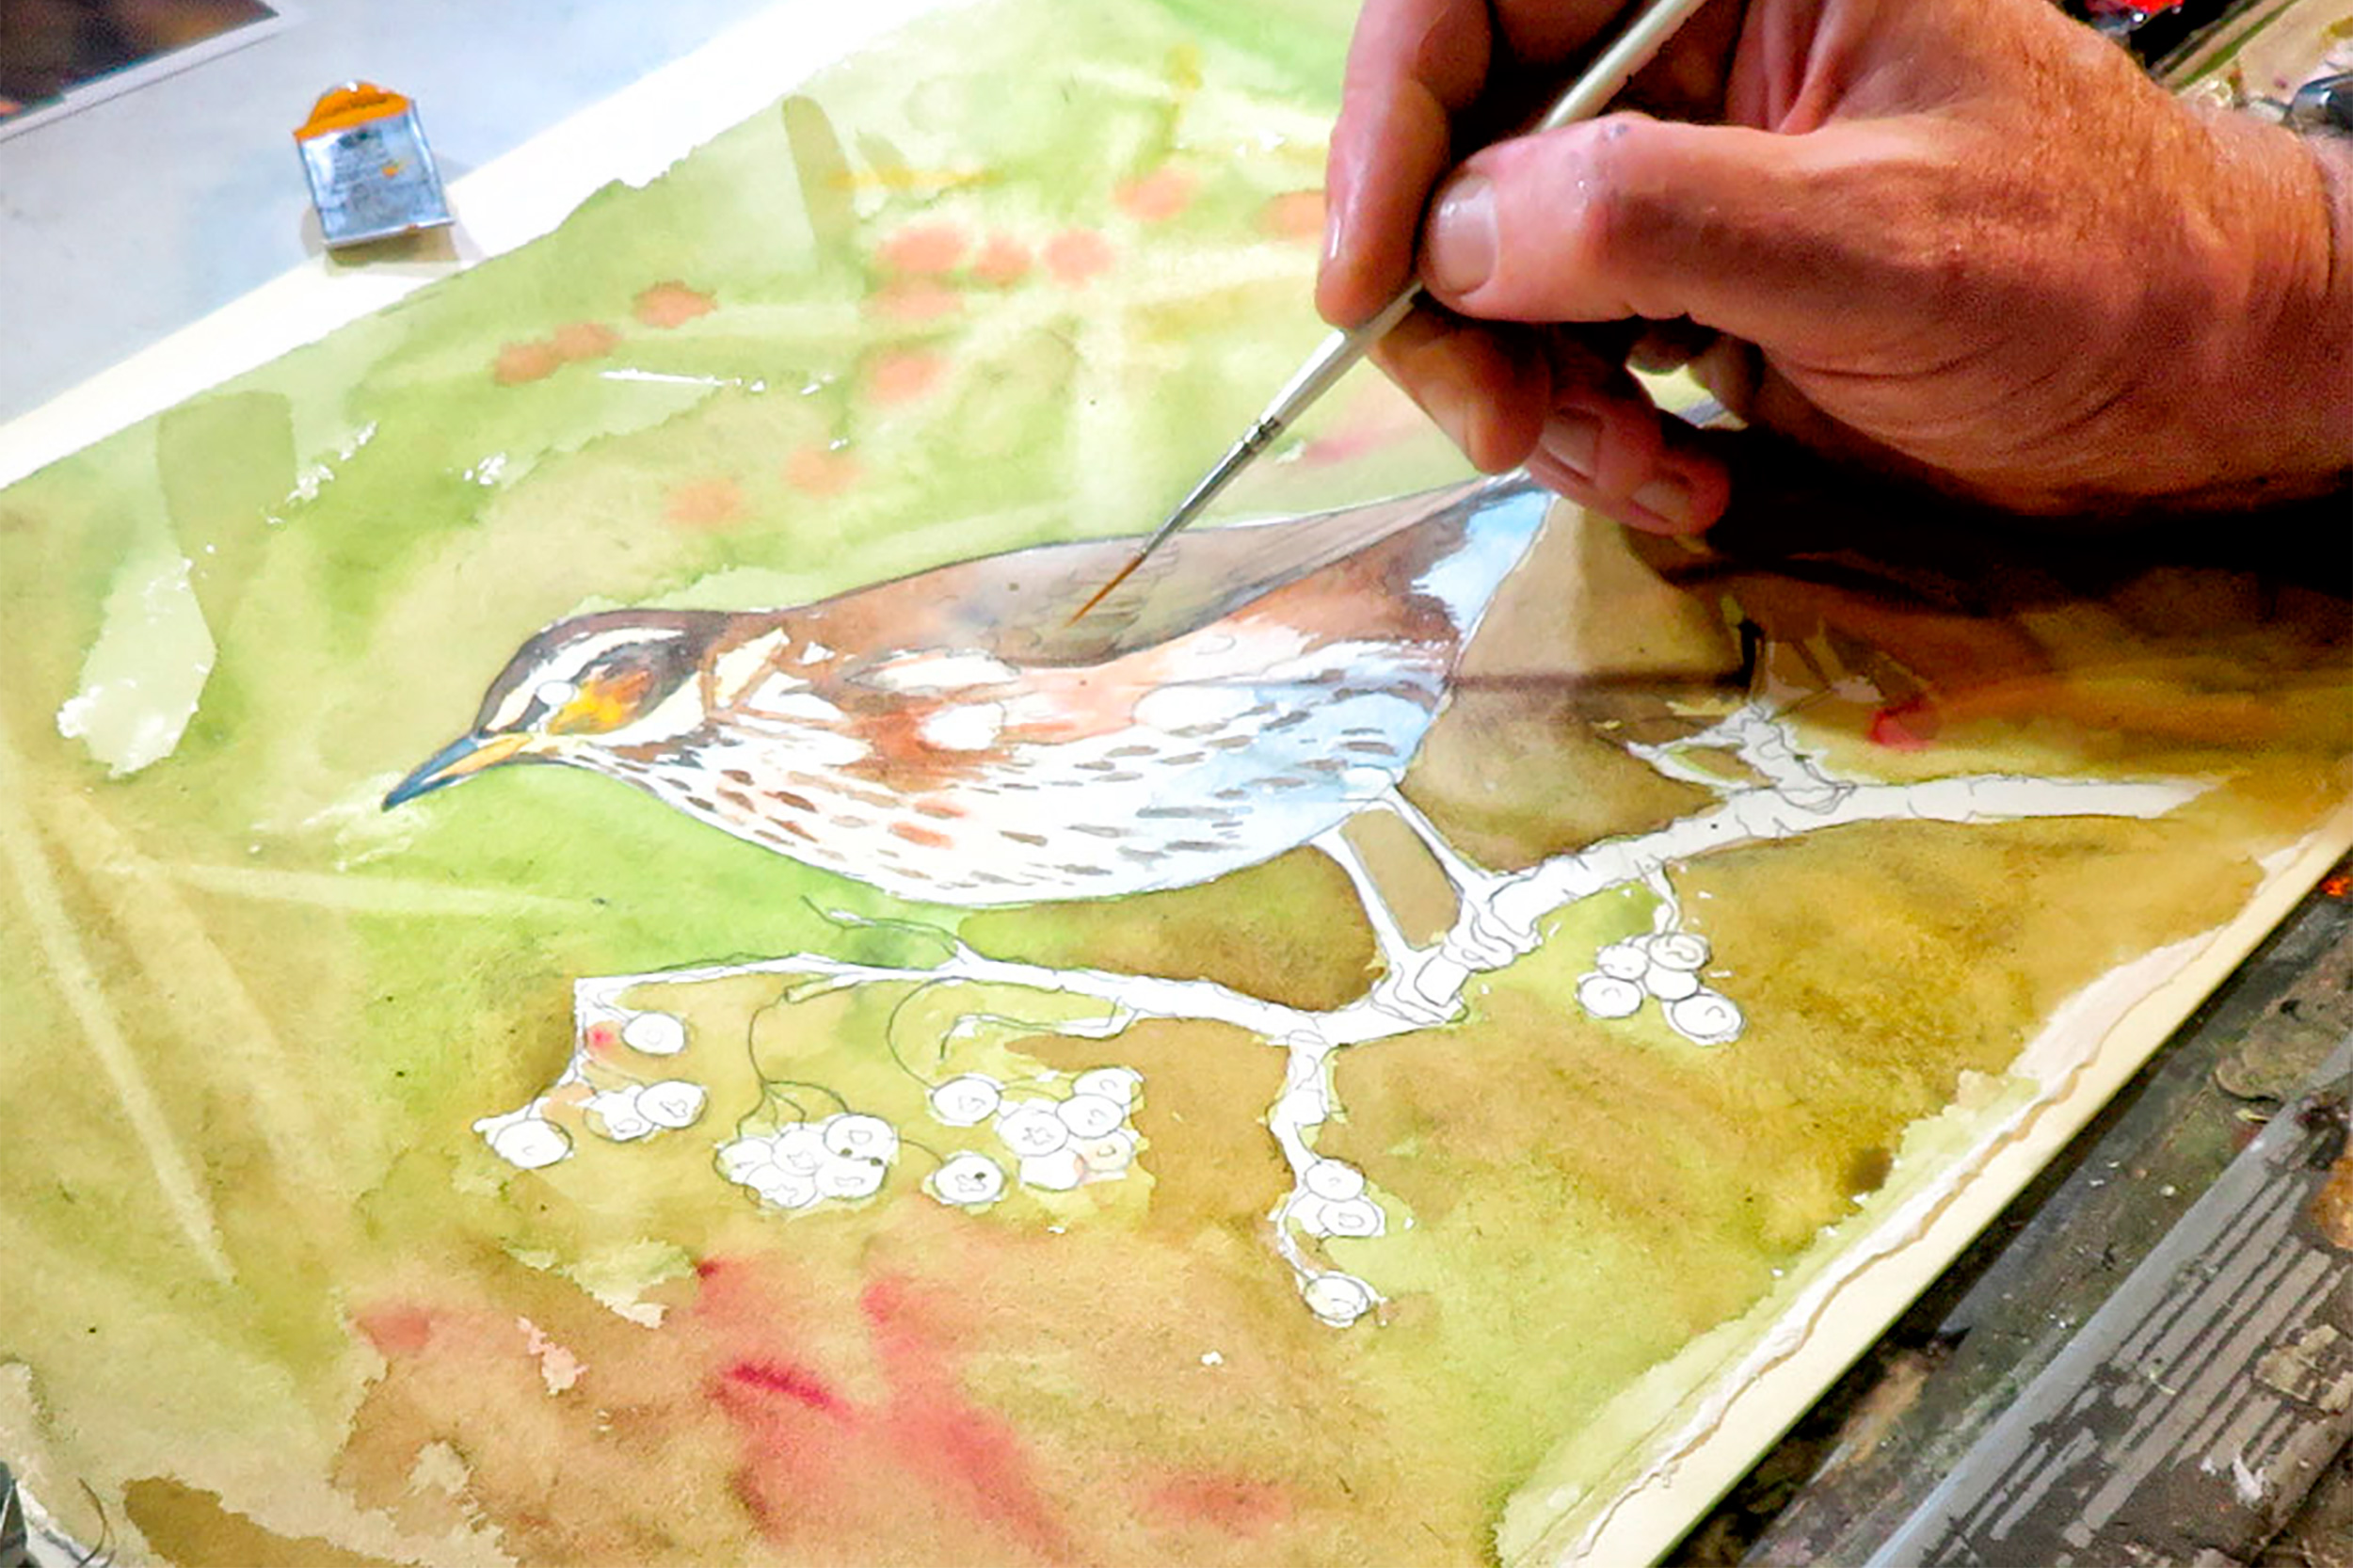
6. Build up the layers
Apply a wash of Cadmium Red and orange (again, I used Winsor Orange) to the underside of the wing. Add loose washes of different colours to the background to build depth.
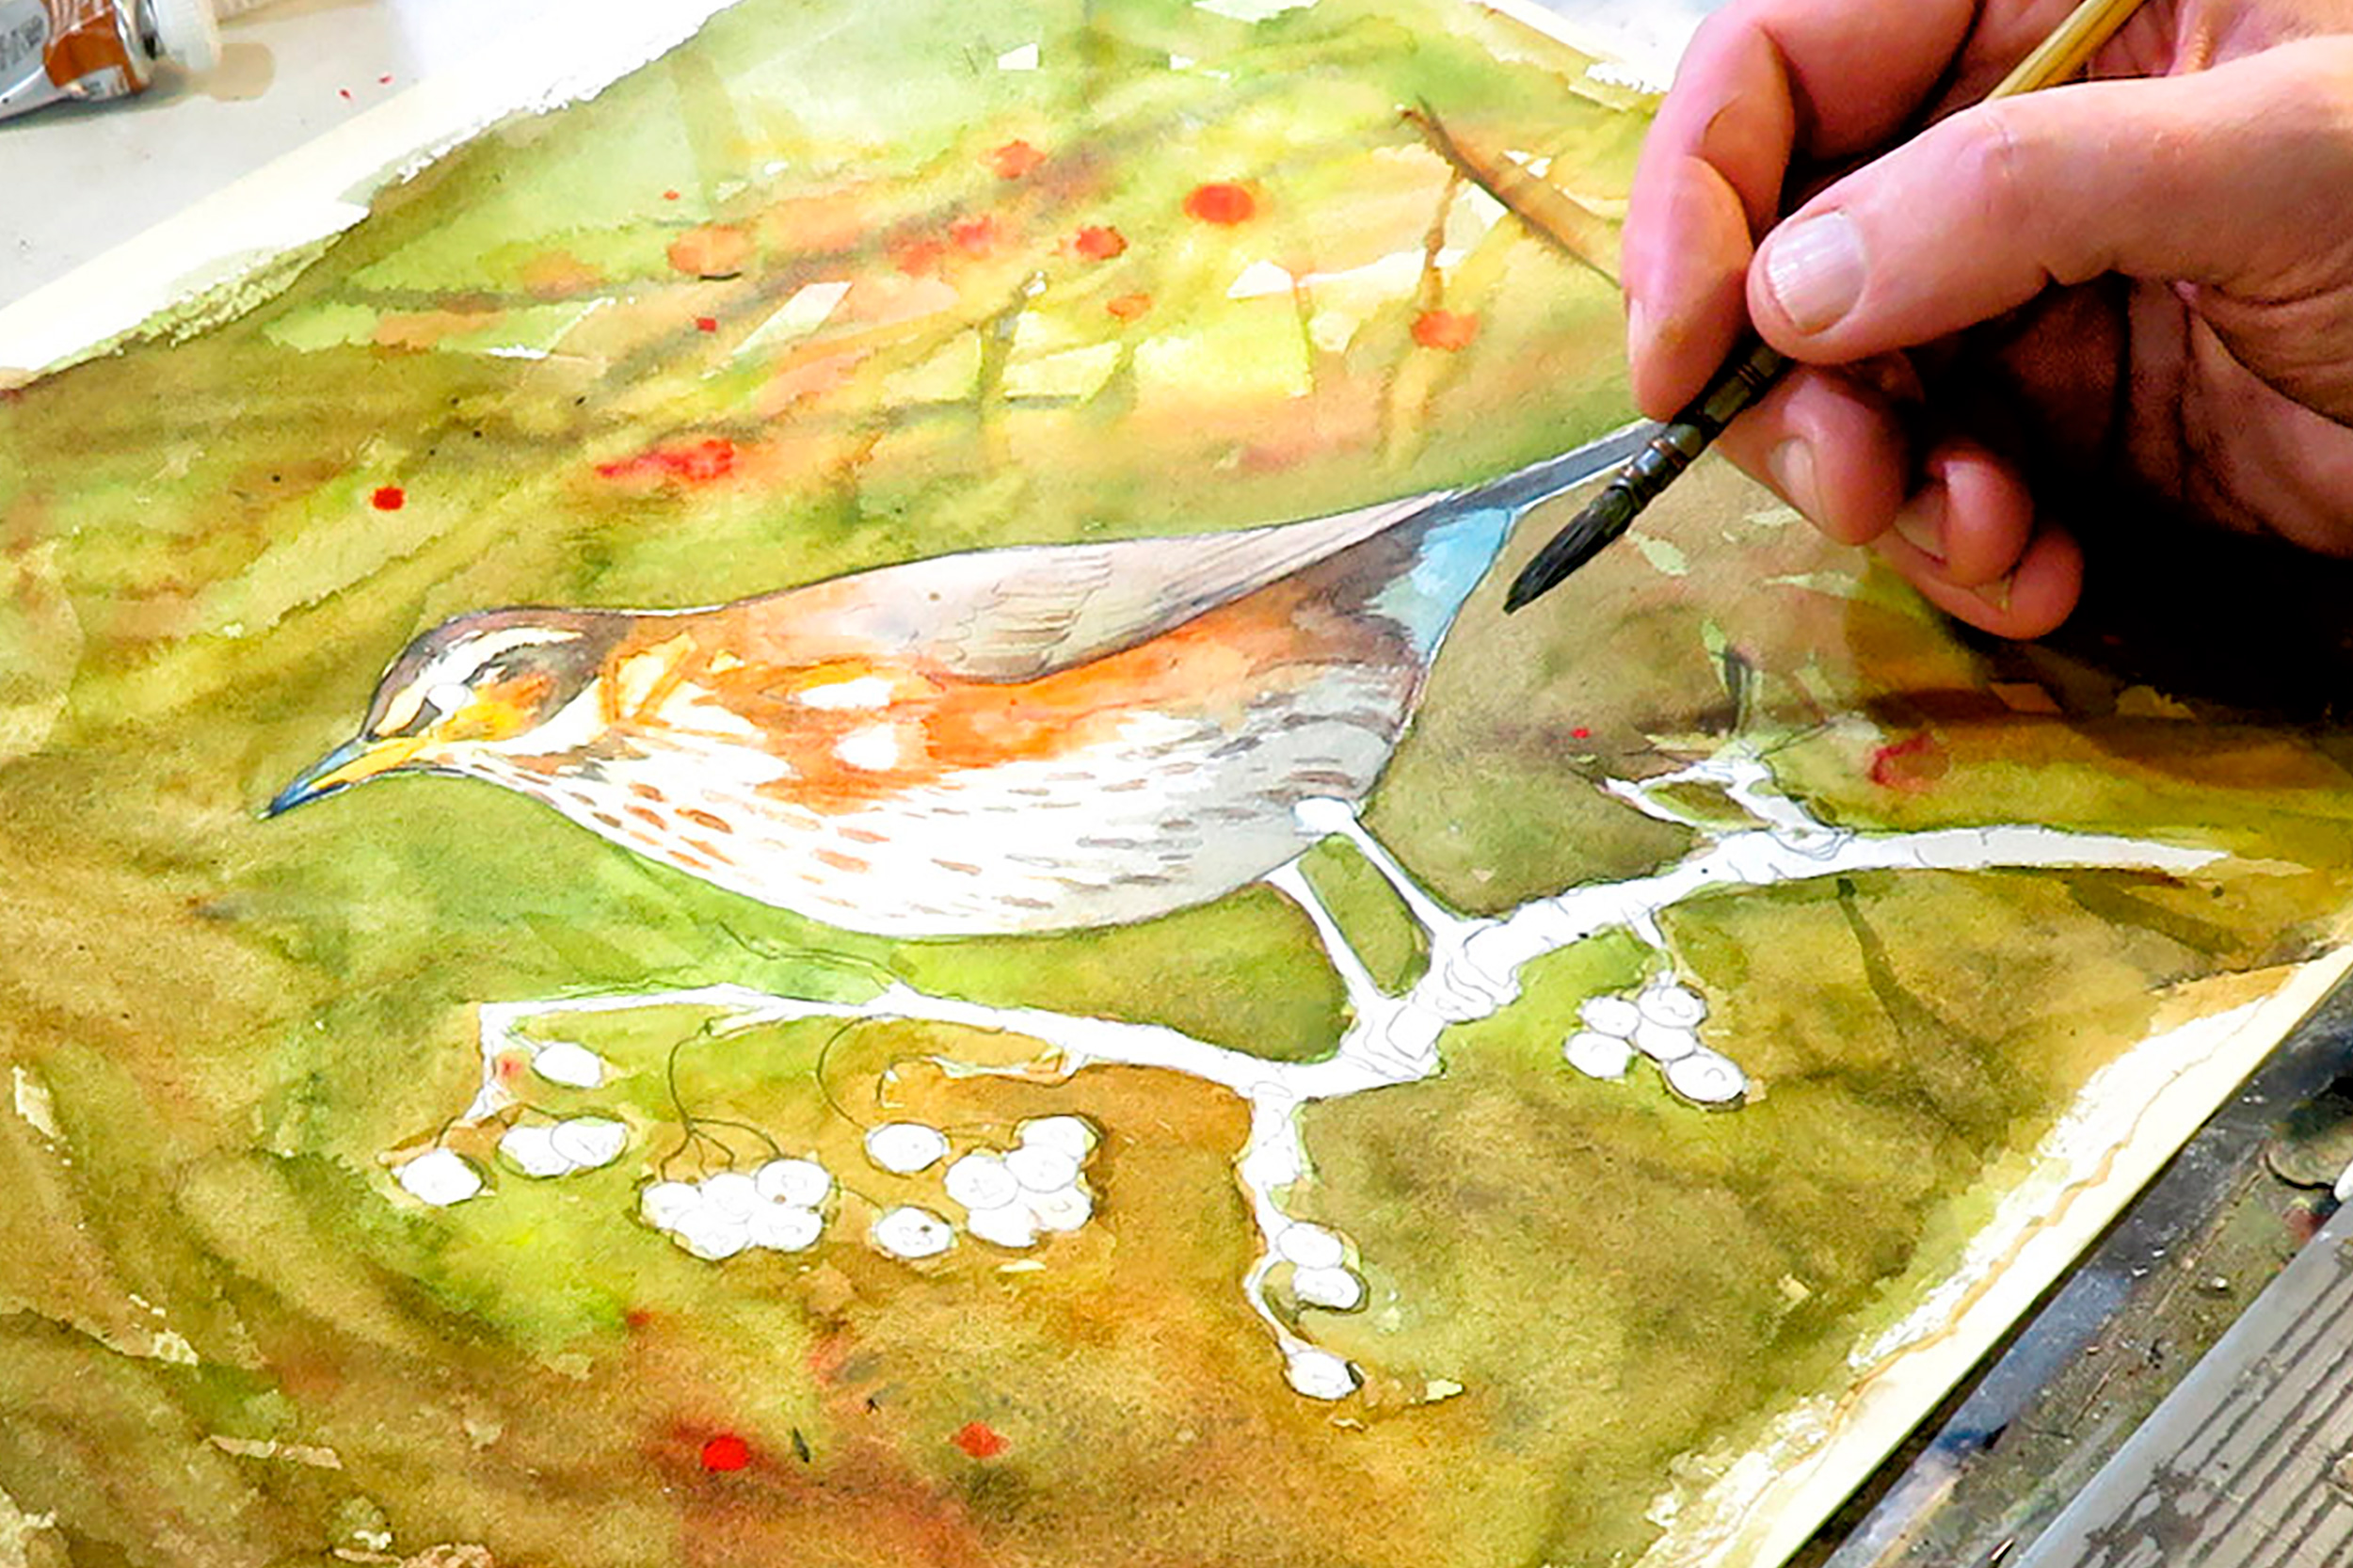
7. Refine the details
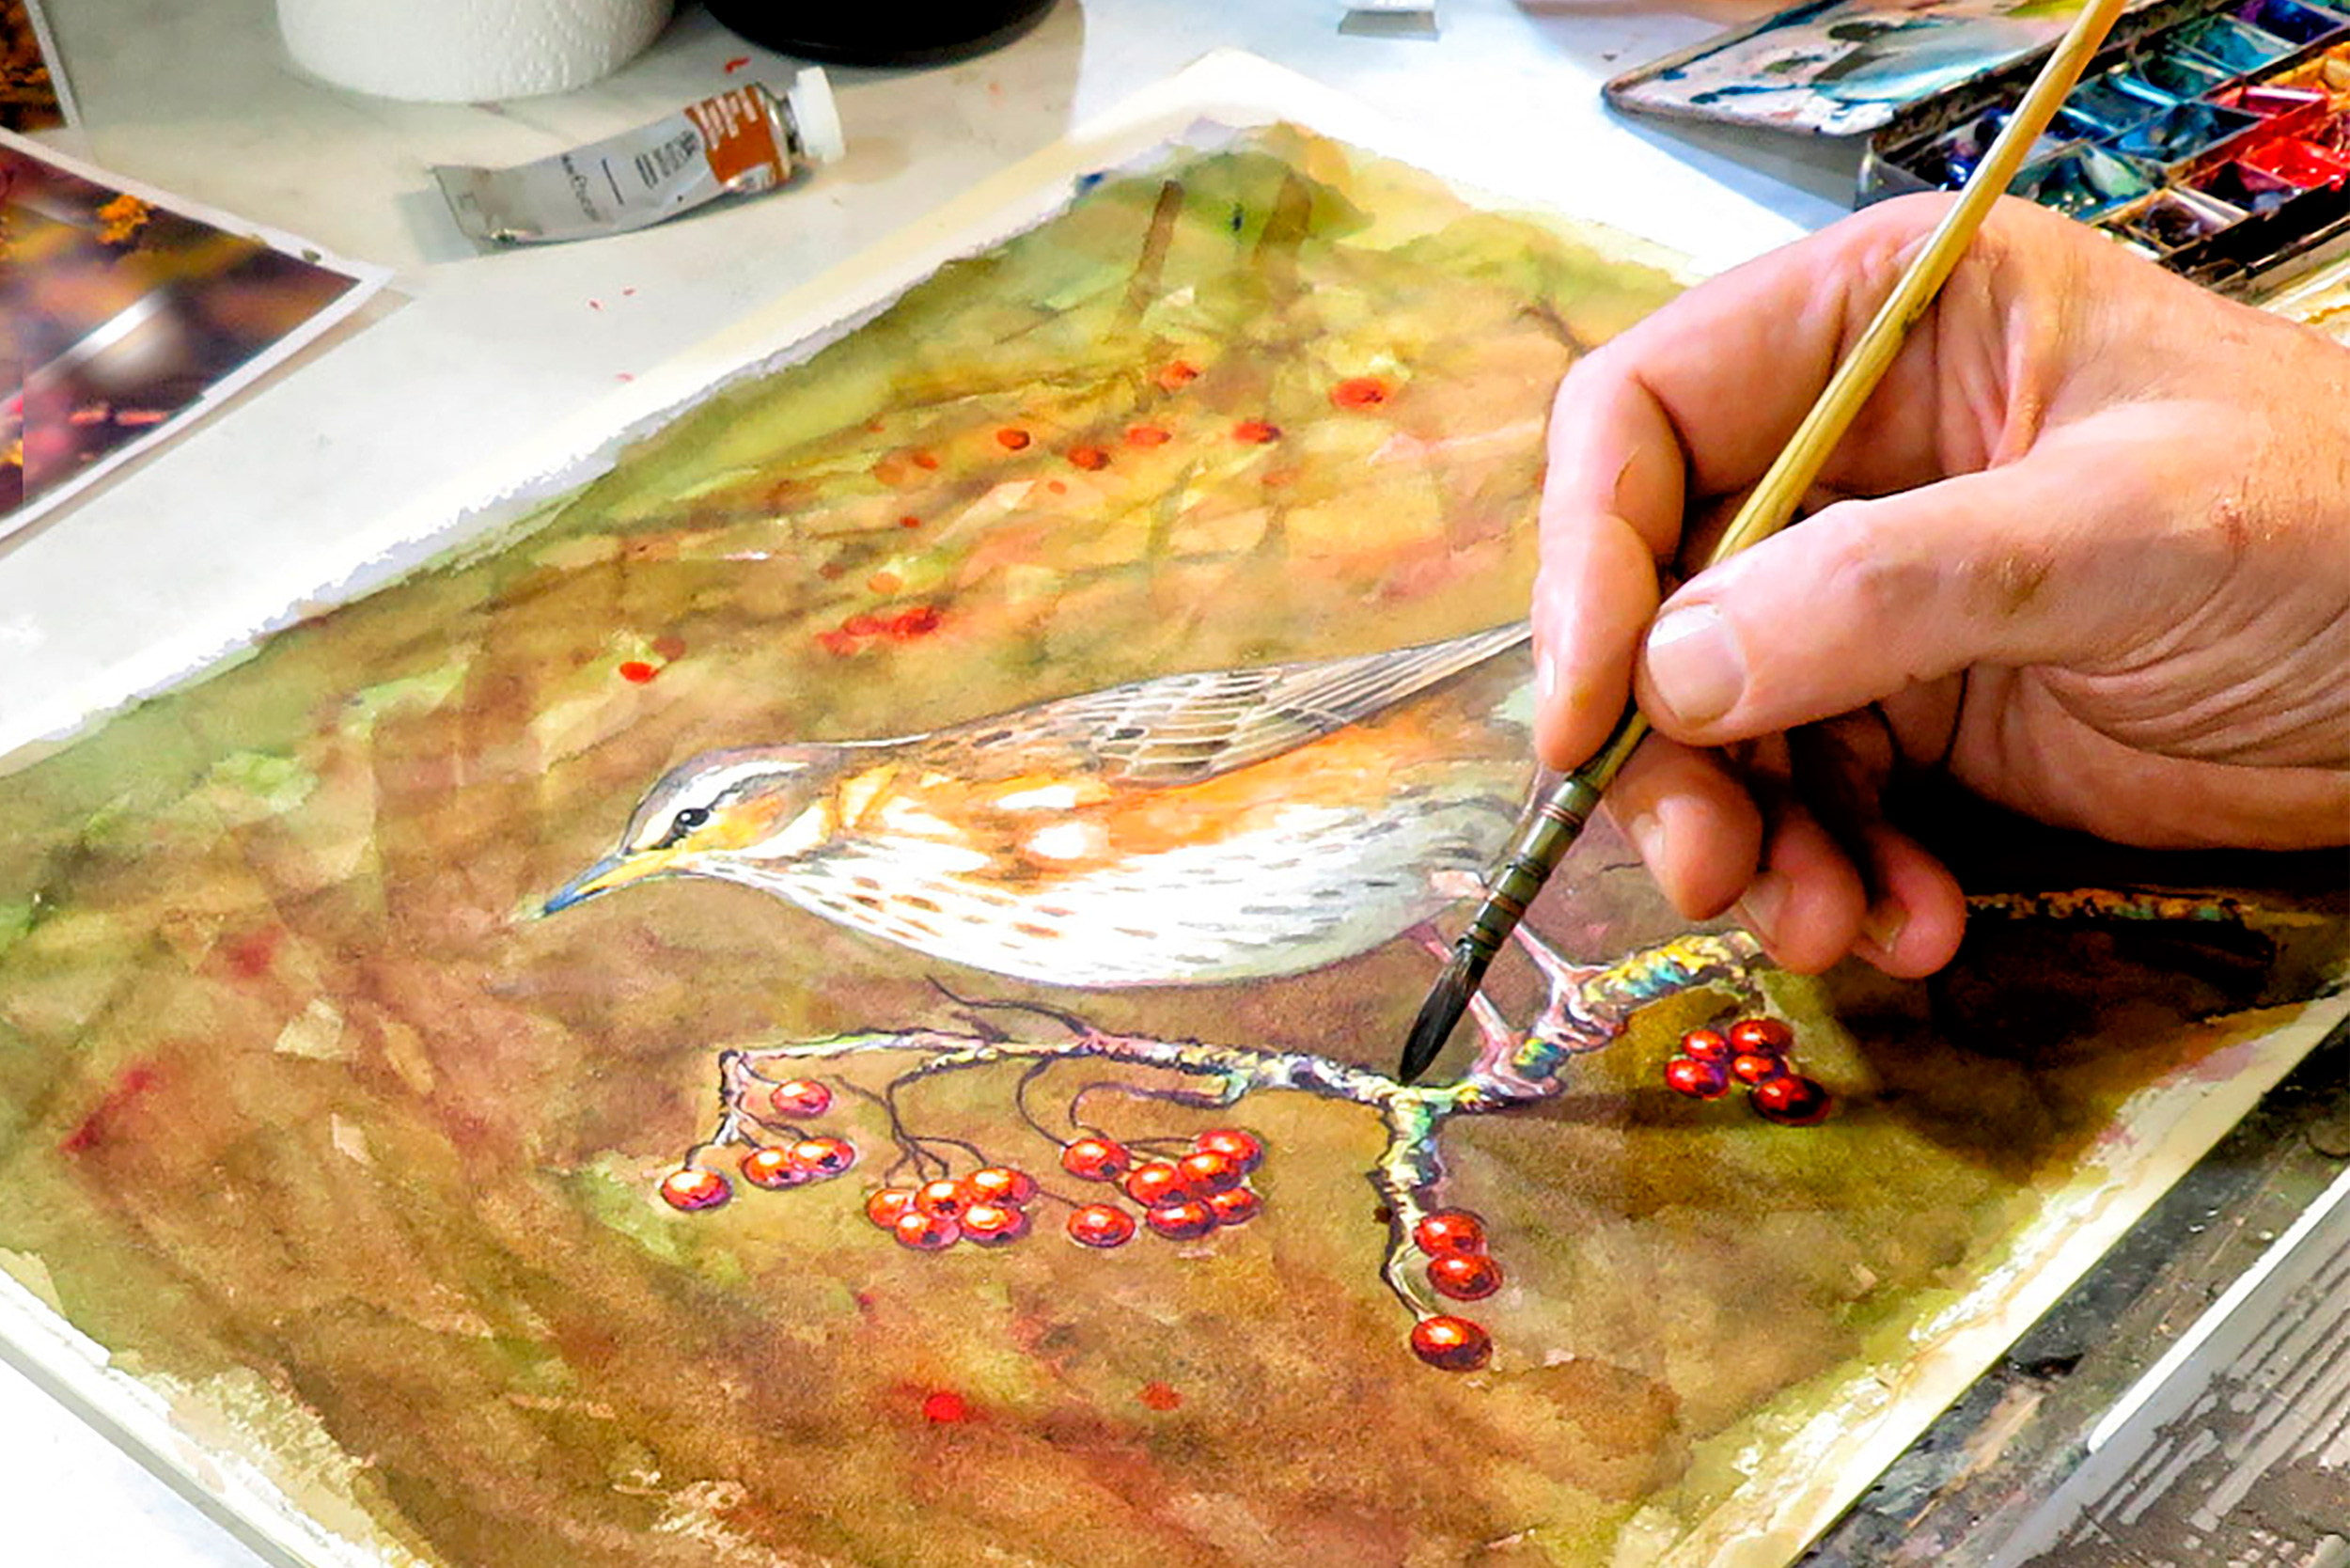
Once dry, add a variety of colours to enrich the background. Then refine the details on the beak, feathers, legs and twigs. Paint the berries.
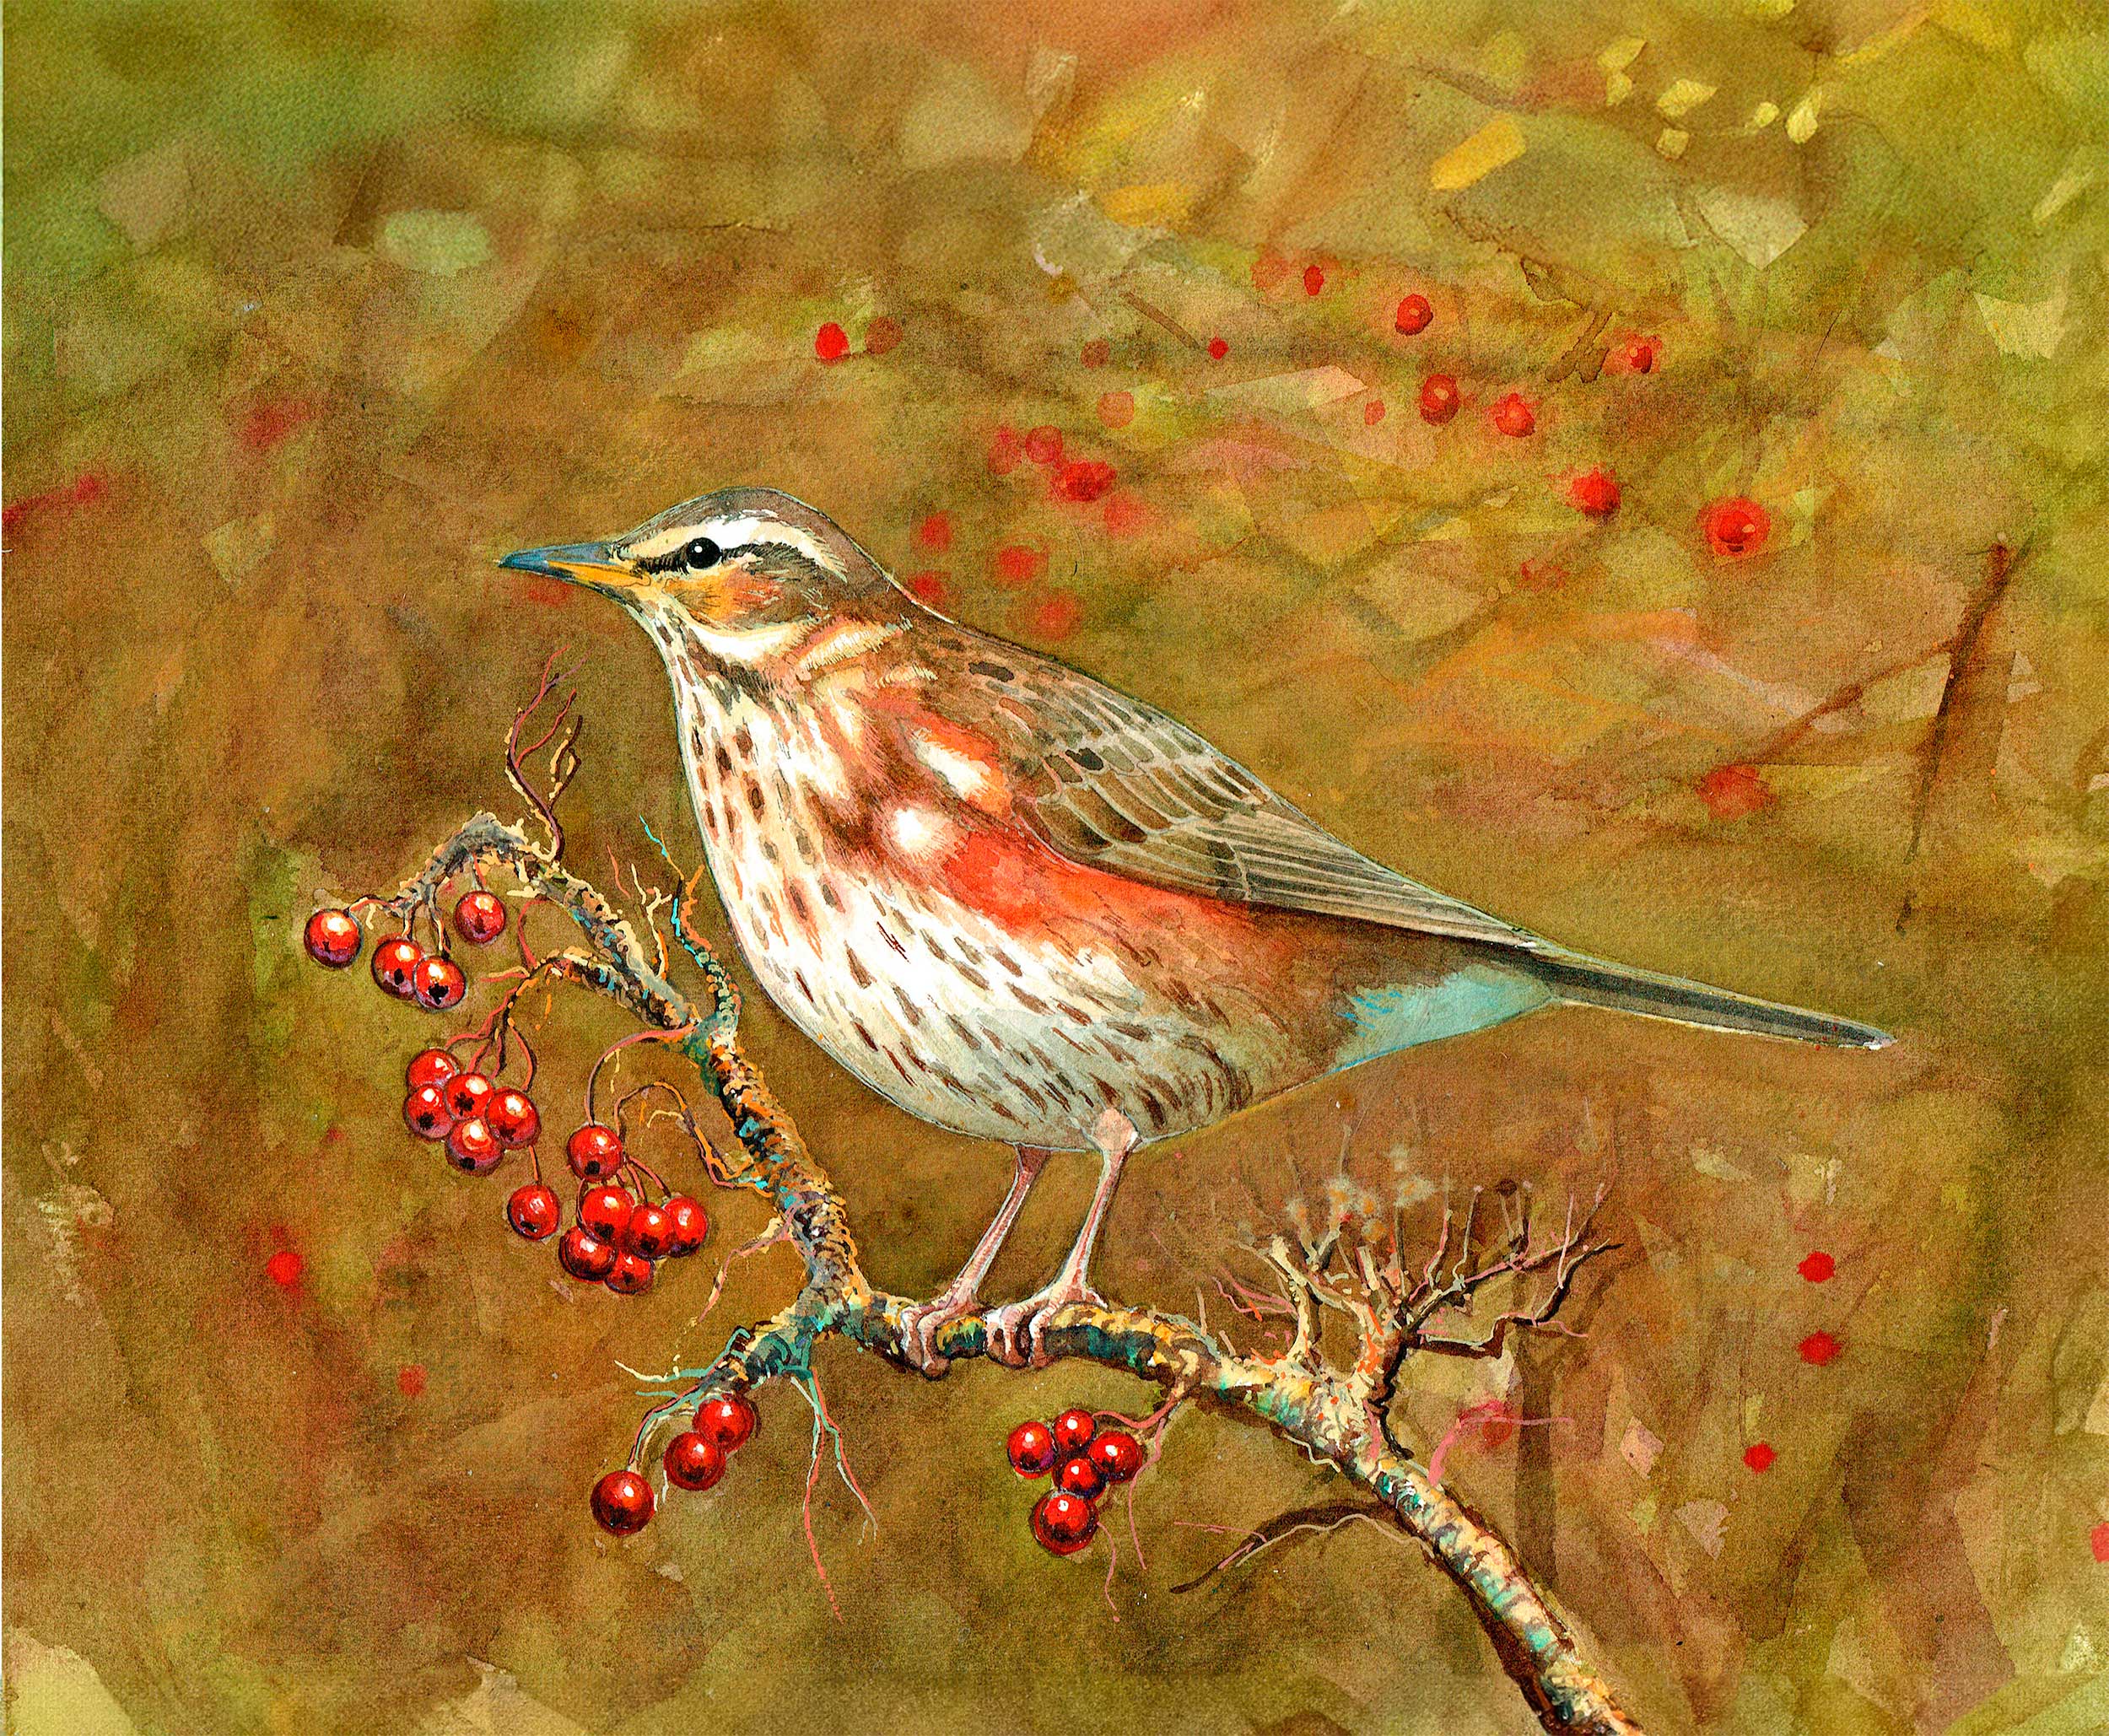
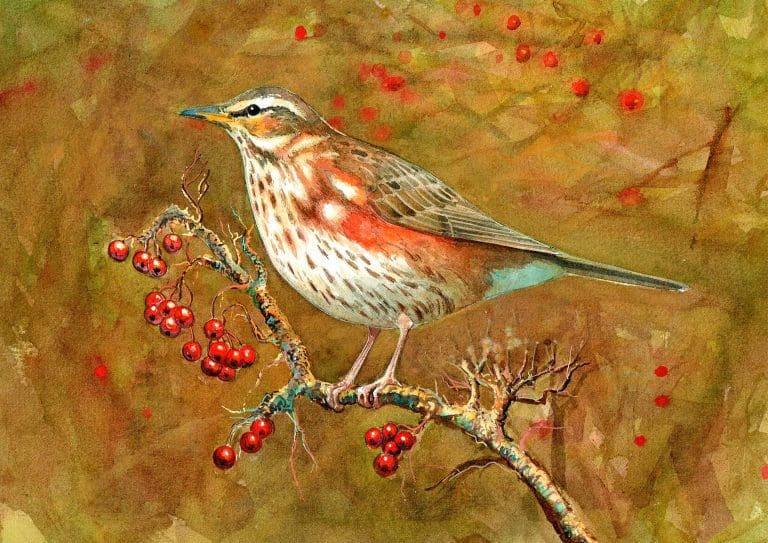
8. Finishing touches
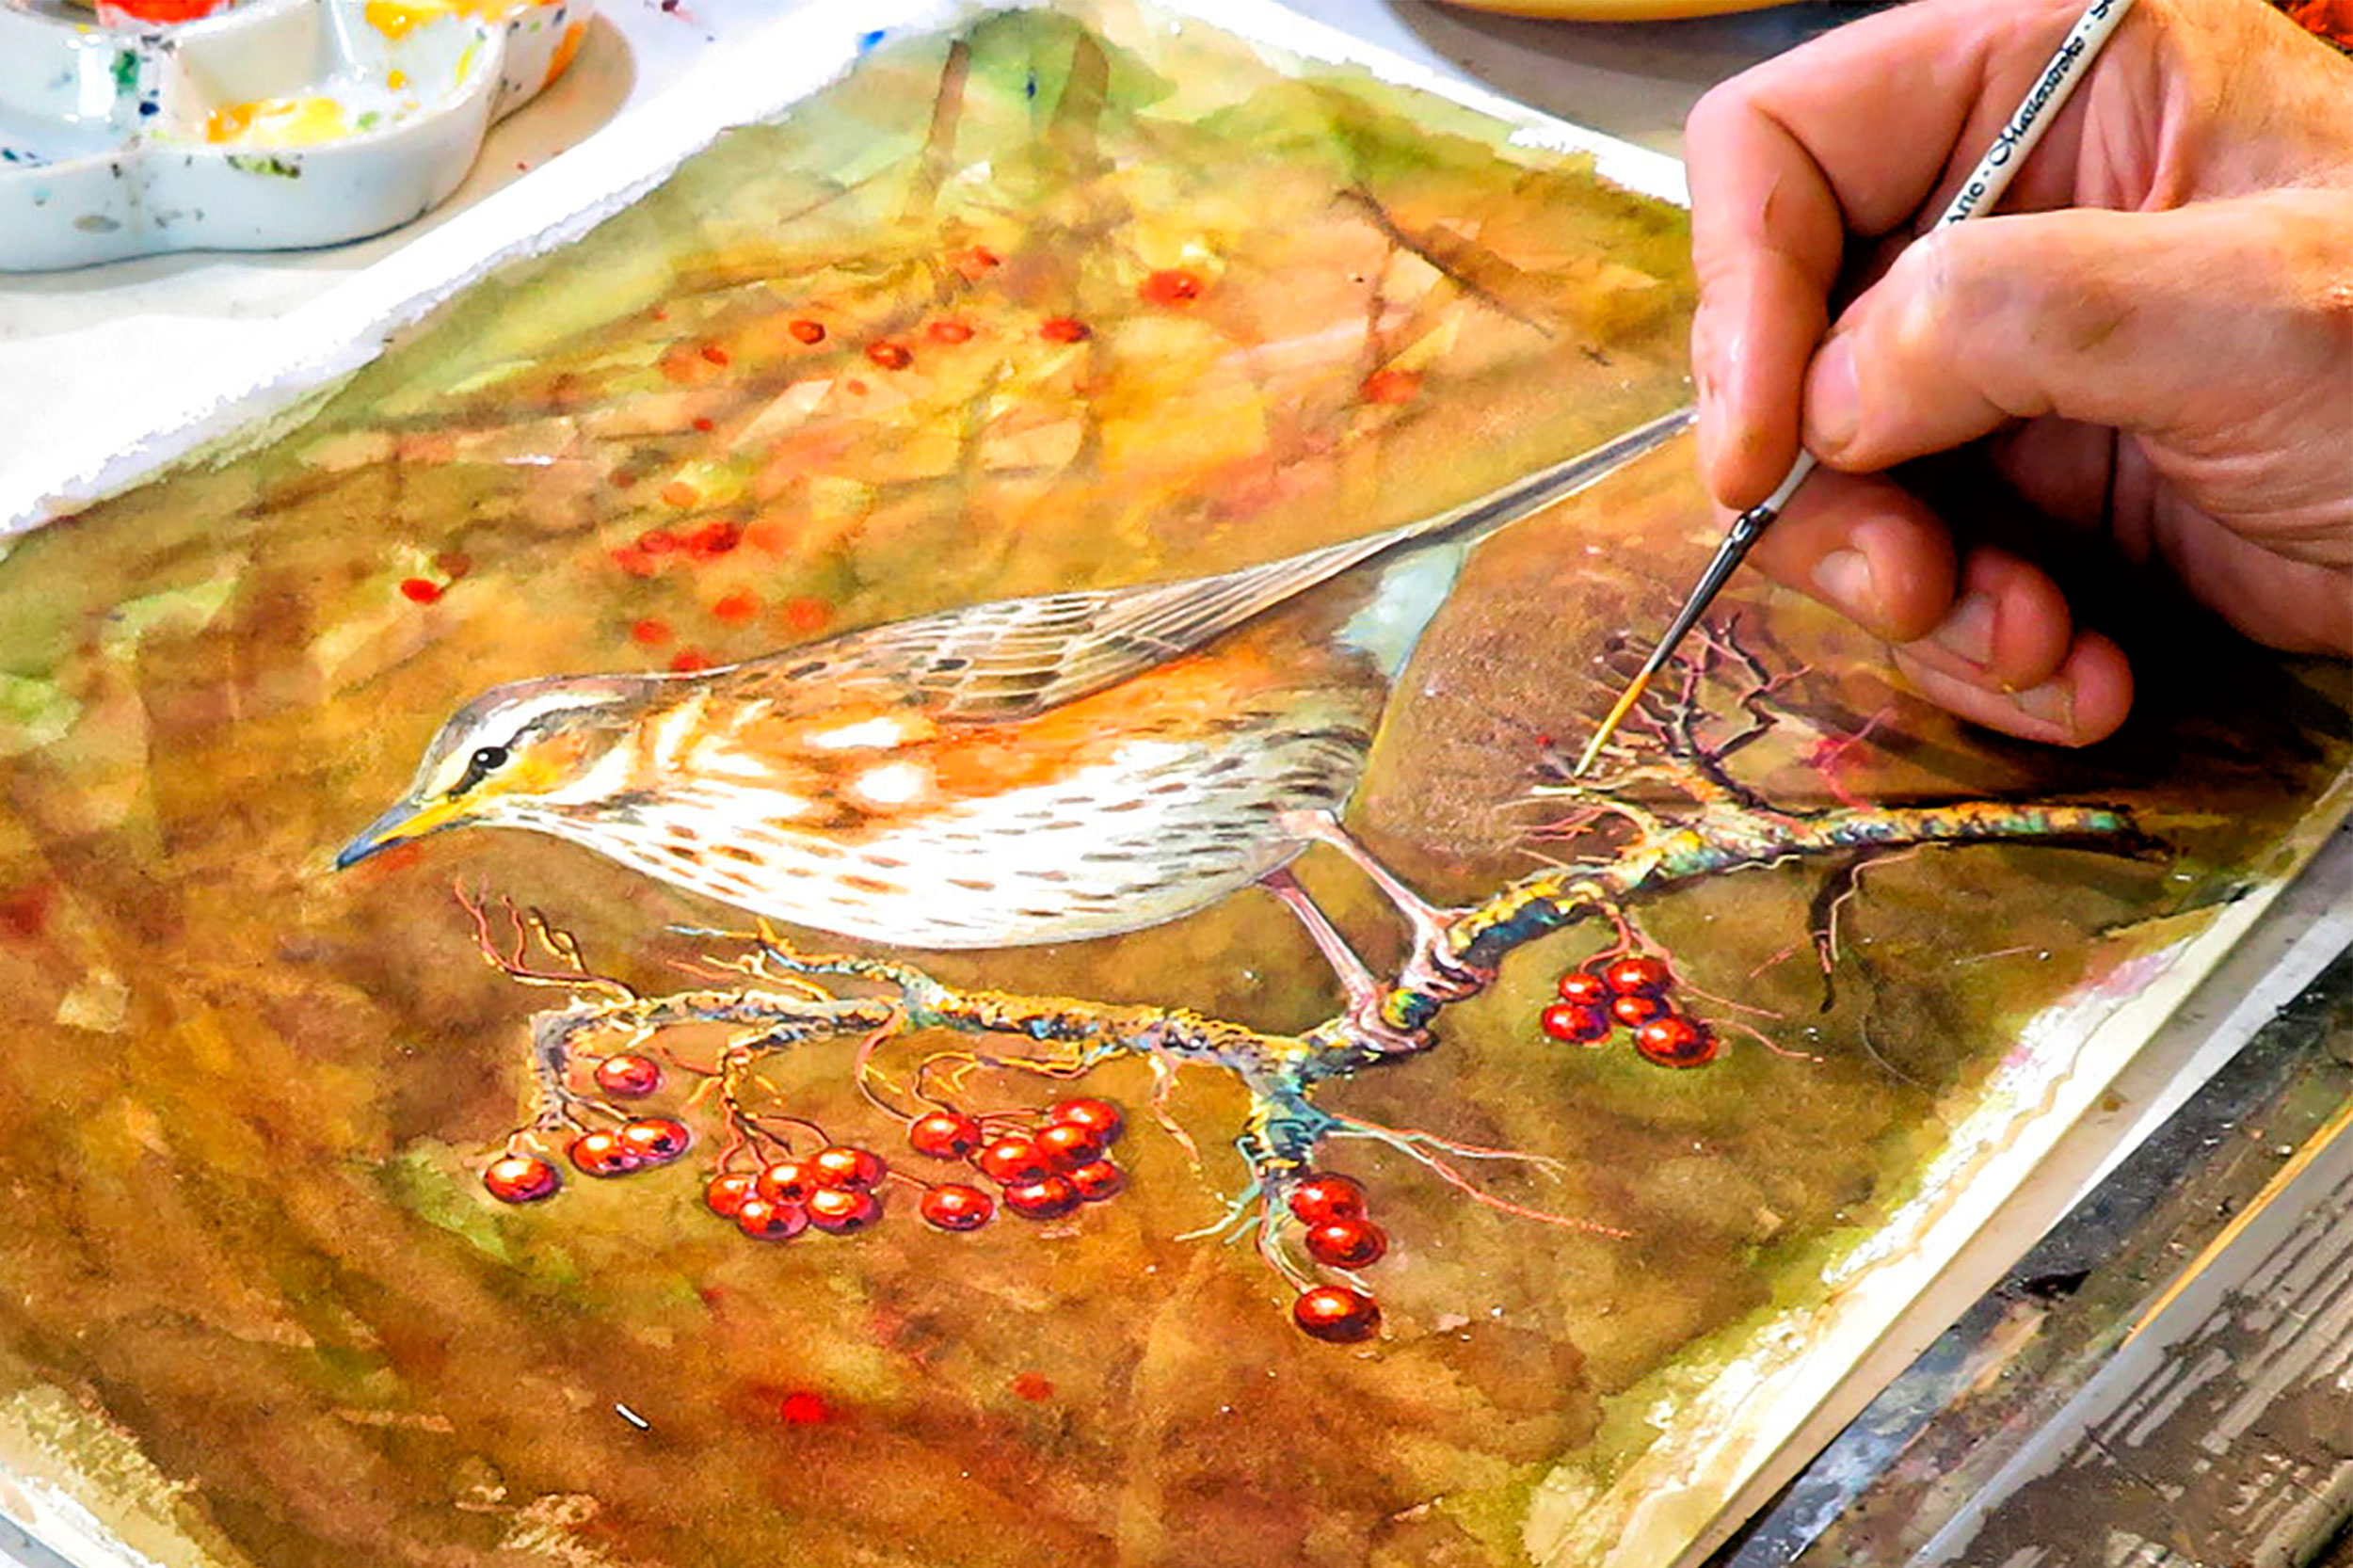
Finally, use Permanent White gouache – an opaque watercolour – to add fine details. Focus on the lighter plumage, eye highlights and berries.
Share your pictures
Send us your watercolour paintings, we’d love to see them!
You might also like
Celebrating nature in art: six nature artists you need to know
Photographing farmland wildlife in winter