Autumn is a fantastic season to look for fungi. Explore woodlands, fields and grassy verges to see them springing up through the leaf litter and growing shelf-like from trees and branches.
How to…
ID fungi
Essential tips and tools from author and artist David Mitchell
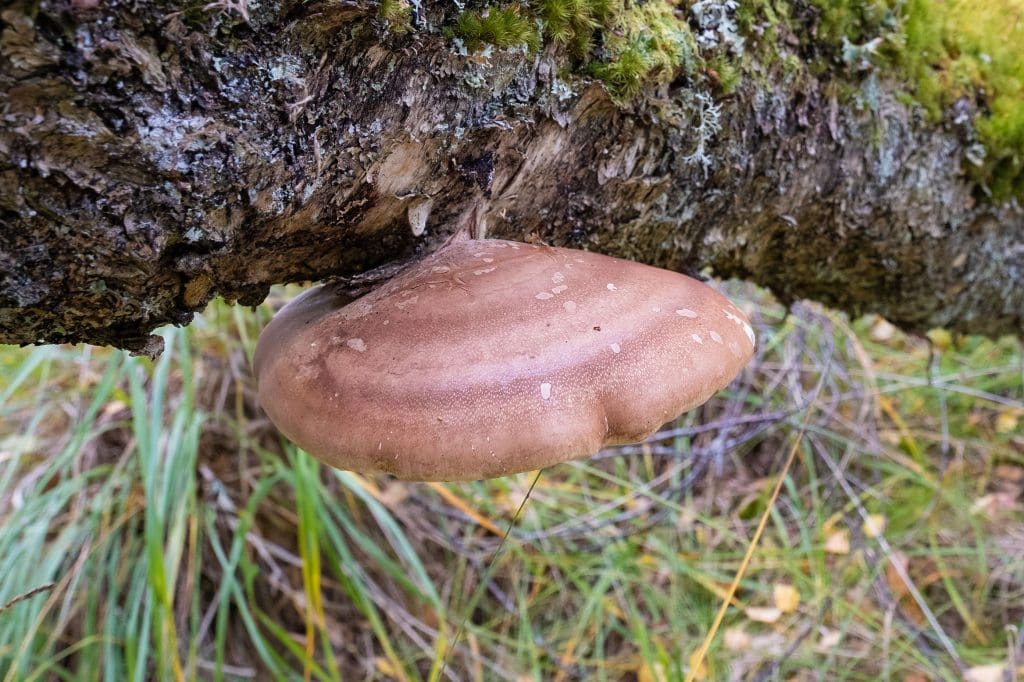
1. All fungi release spores which are the reproductive particles, and they can show up on the fungus. Bracket fungi are often found in layers, and the more mature ones, usually at the top, can release their spores which show up on the ones below. In fungi with caps, often the spores adhere to the stem and stem ring. Inkcaps are a good example of this. The spore colour can help with identification.
2. When you find a specimen, observe its characteristics: look closely at the different parts and make a note of what you see. Also note any trees nearby as some fungi are found with certain trees, for example Larch Bolete is only found by larch trees.
3. Many fungus types consist of a cap and stem. Let’s look at the cap – note the shape: is it conical, rounded, flat or funnel shaped? Note the colour and size, too. Is the cap surface dry, slimy or scaly? Now check the underside. Not all of them have gills. Some have a spongy underside, others have small spikes. Now look at the stem – is it coloured? Smooth or scaly? Does it have a stem ring (a small circle of tissue around the stem)?
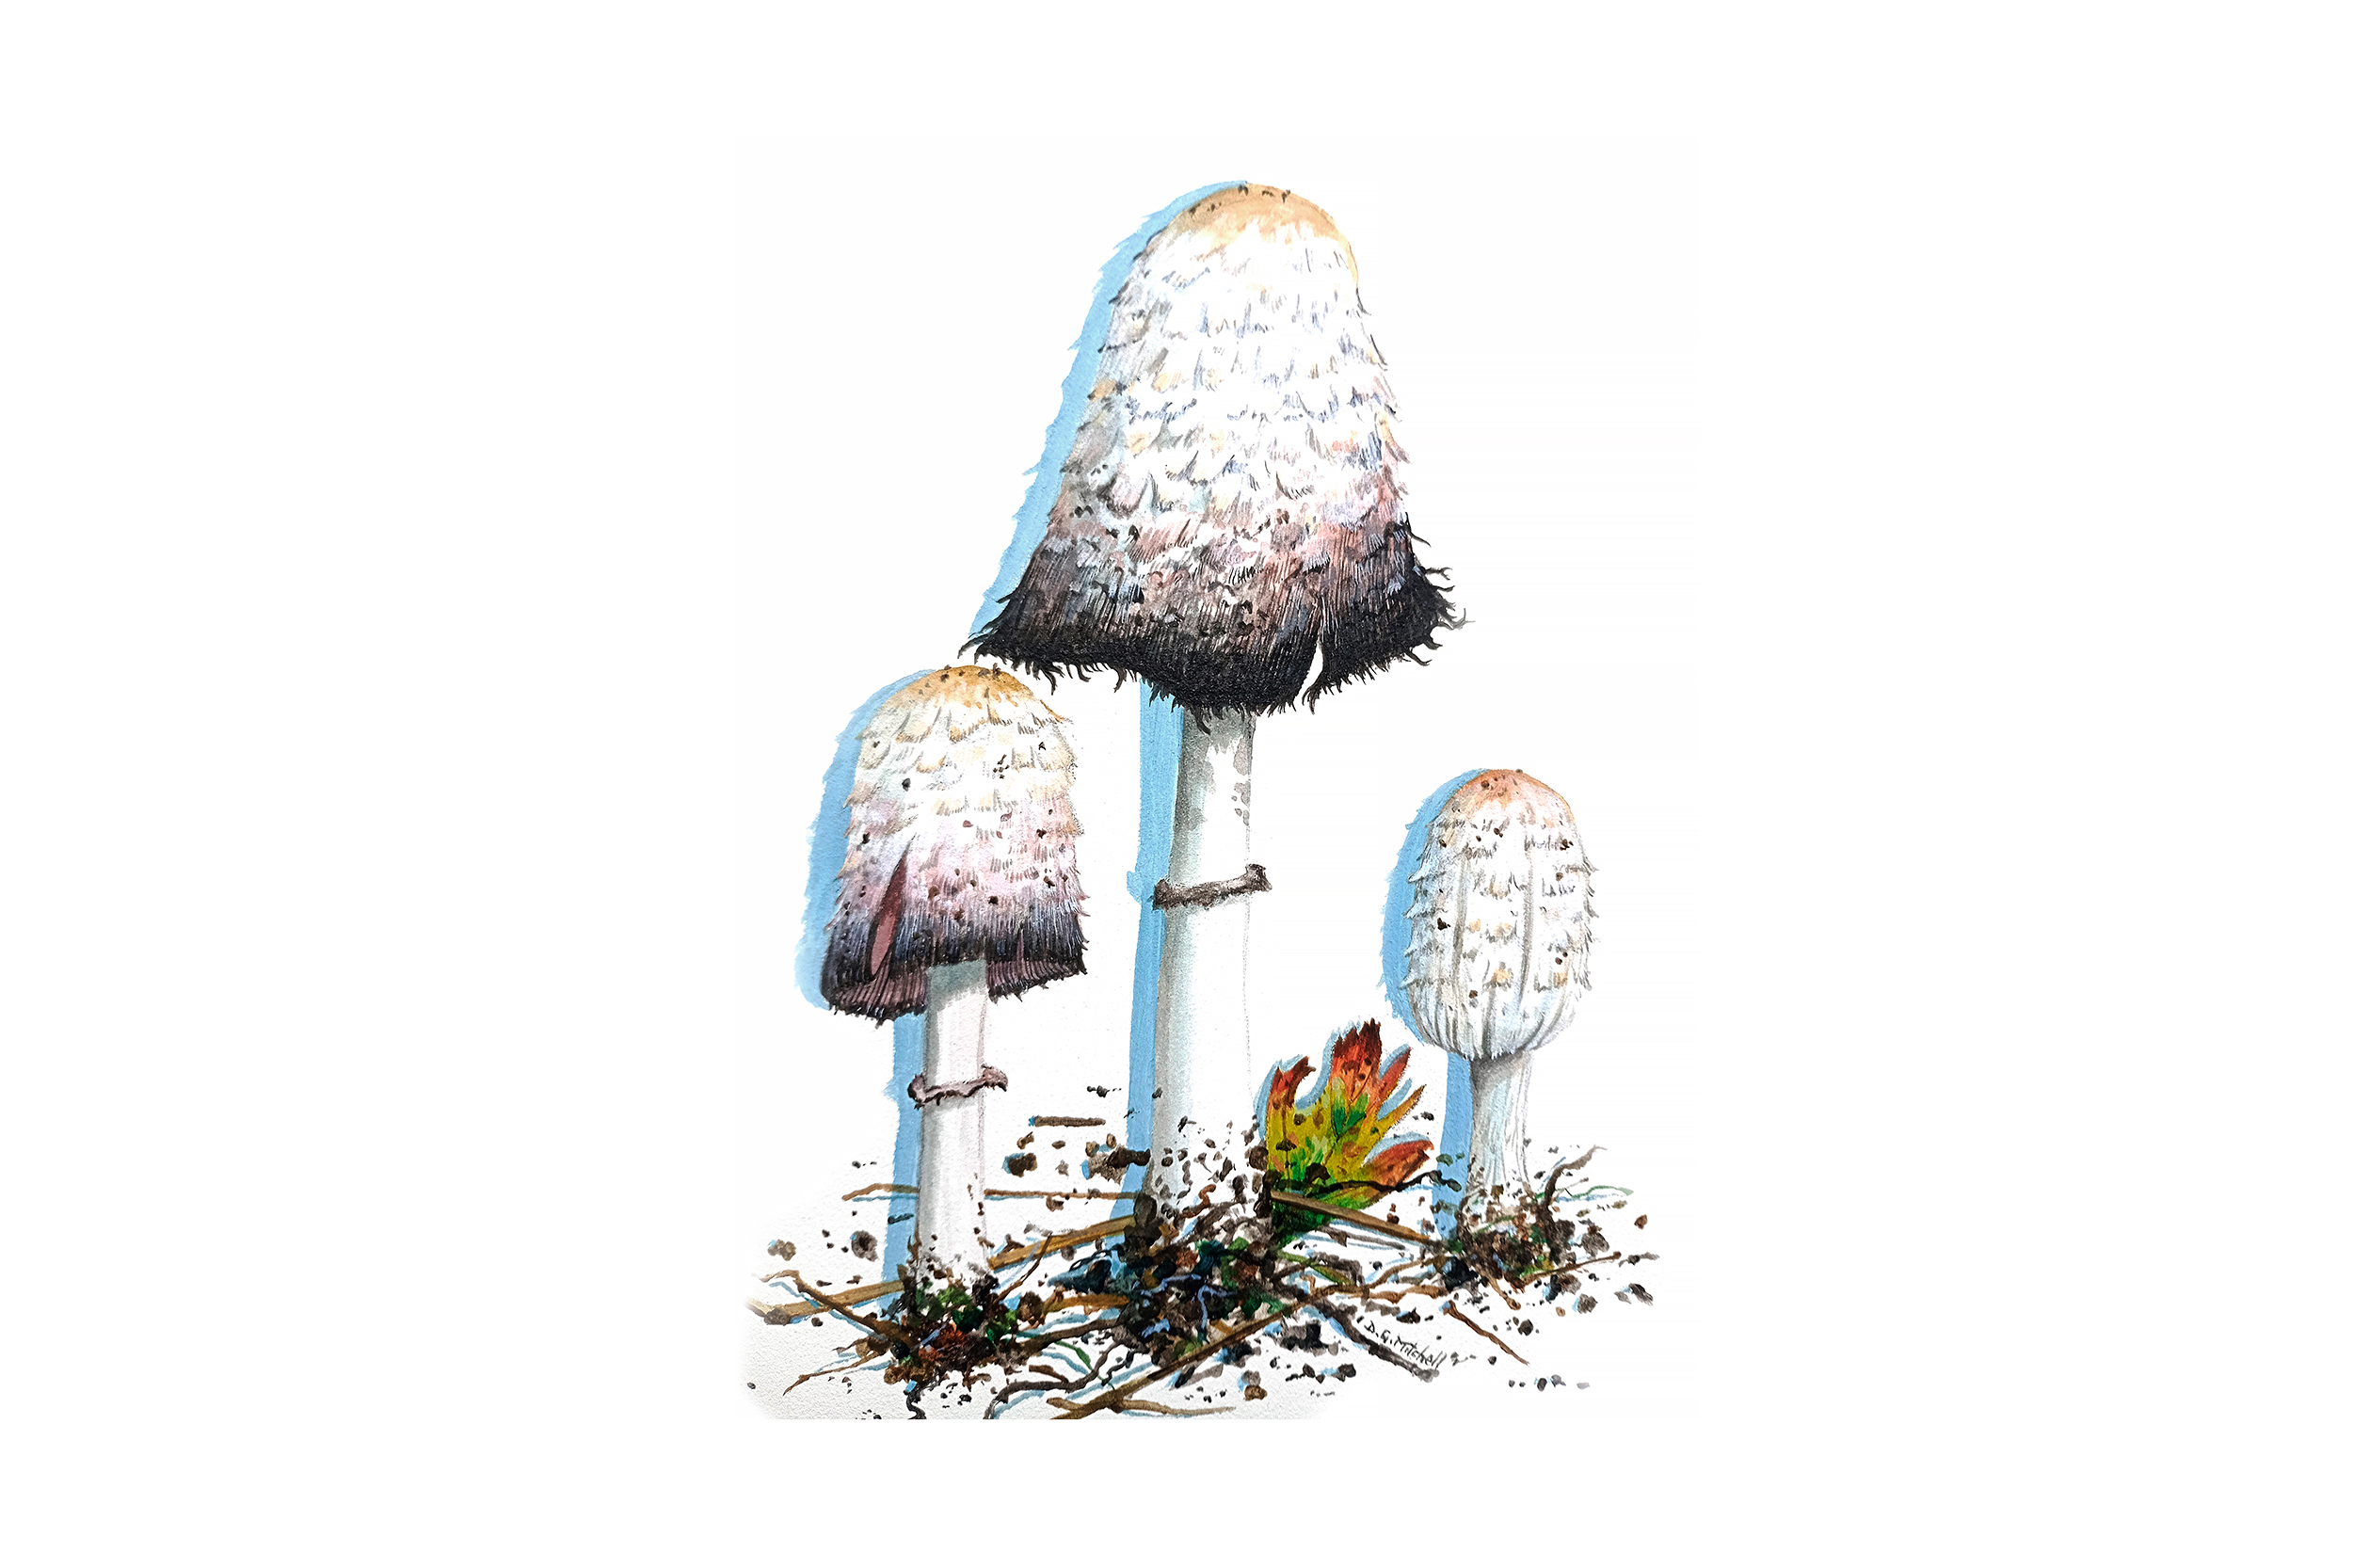
Shaggy Inkcap. Illustration: David Mitchell
4. Some fungi have a distinct smell which can be a useful identifier. The aptly named Stinkhorn has an obnoxious odour, and you will likely smell it before you see it! Some are more subtle; sniff a single chanterelle and you will struggle to pick up a scent, but a bunch of them together give off a fruity apricot aroma. Sometimes there is an obvious clue in the name: Stinking Earthfan has a pungent aroma of rotten garlic.
How to…
Photograph fungi
RSPB photographer Ben Andrew on how to capture your fungi finds
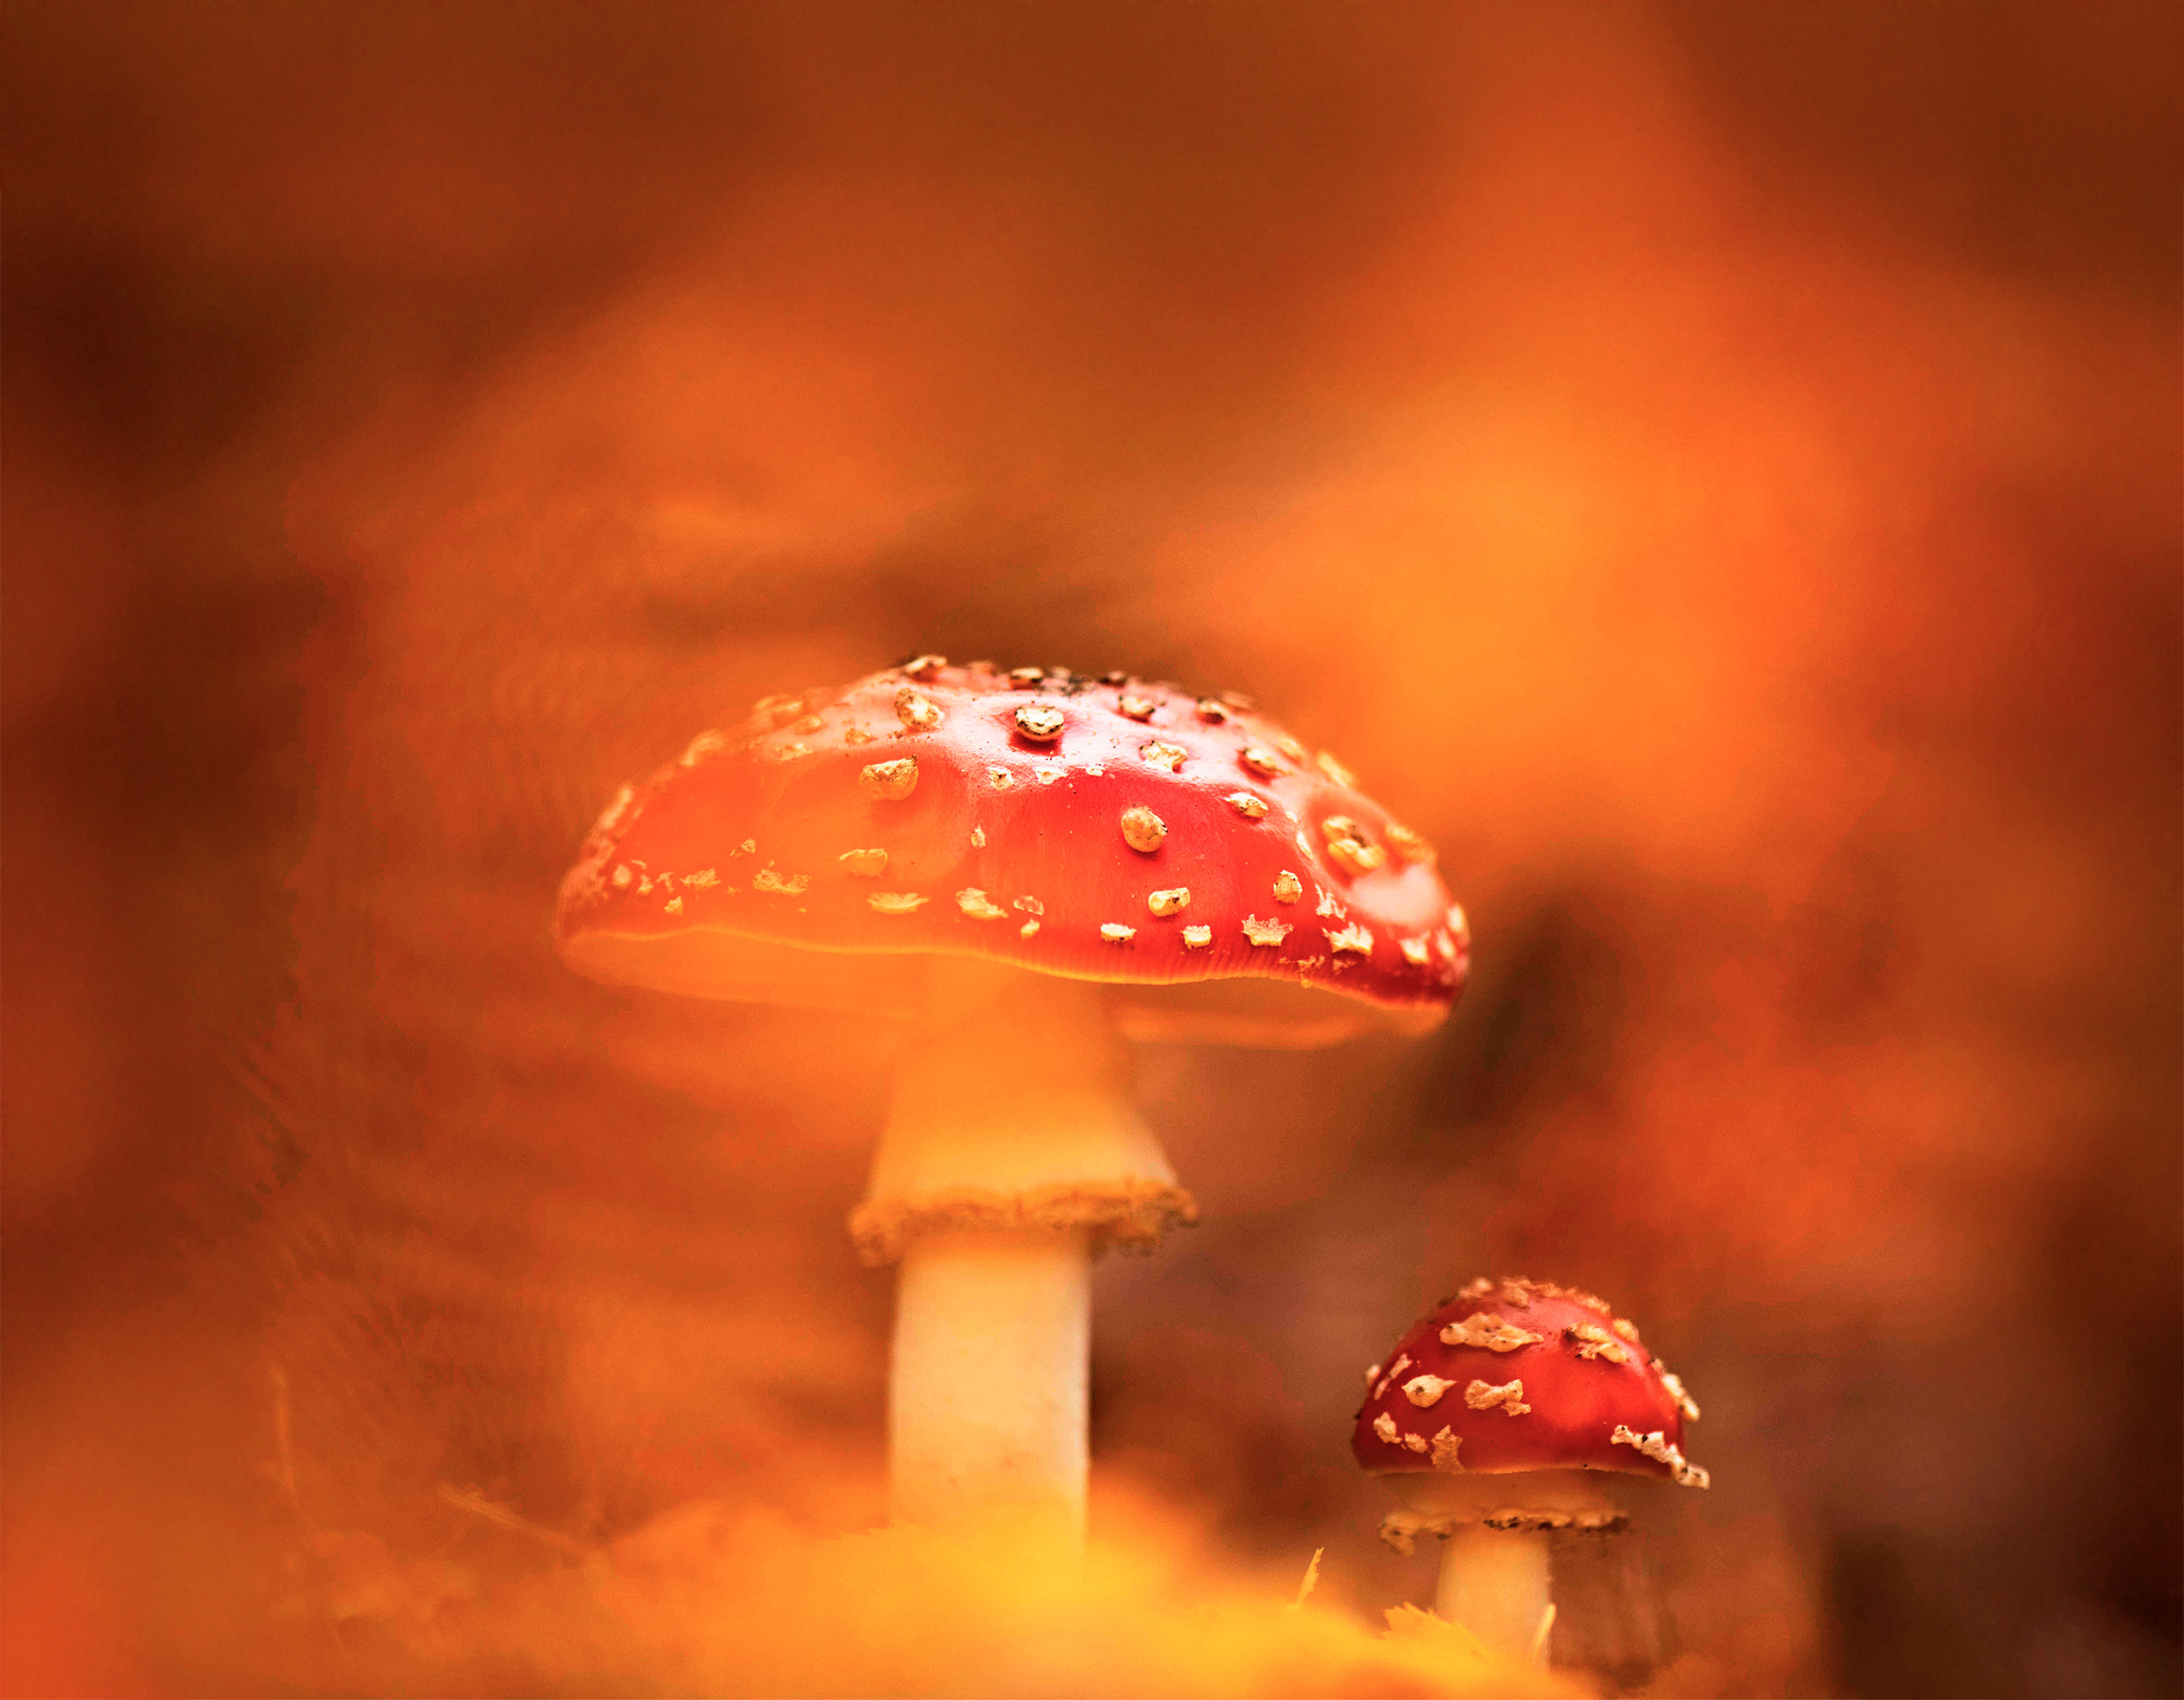
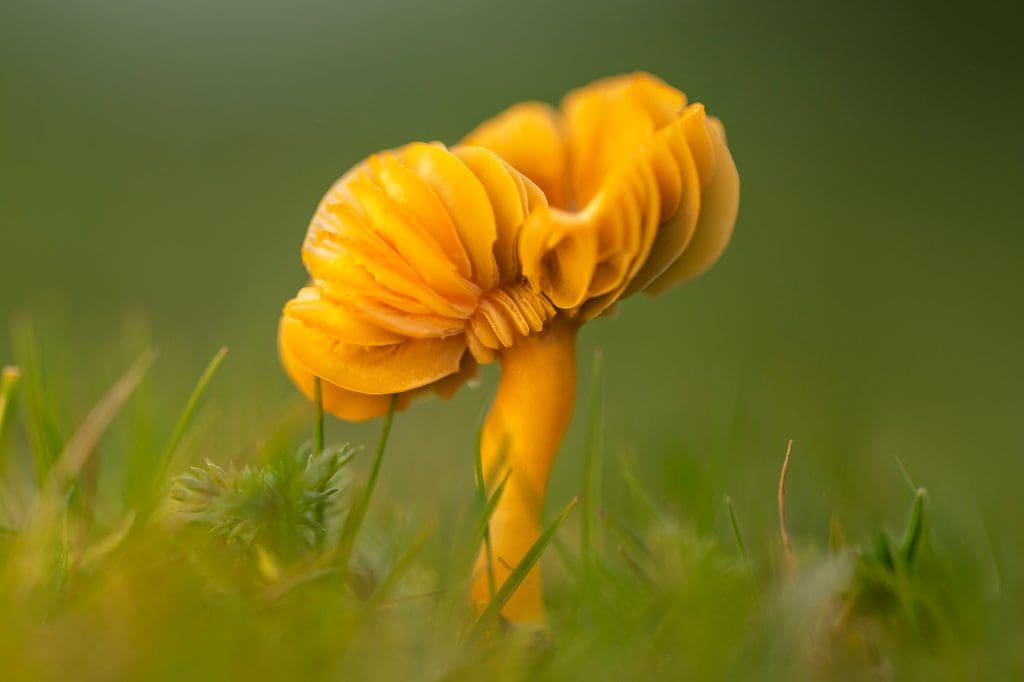
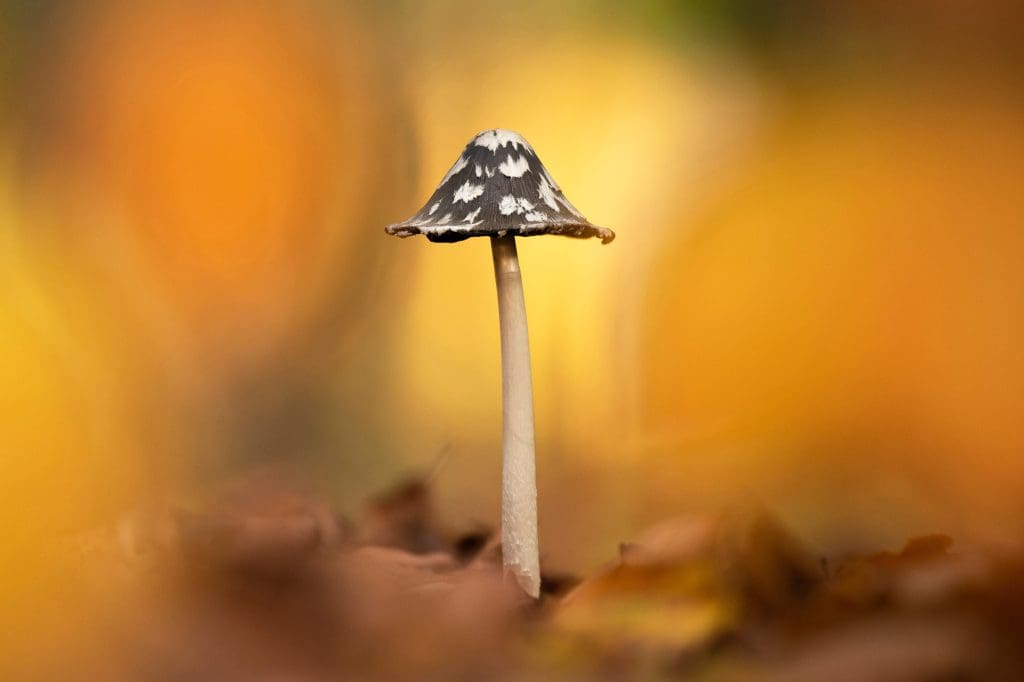
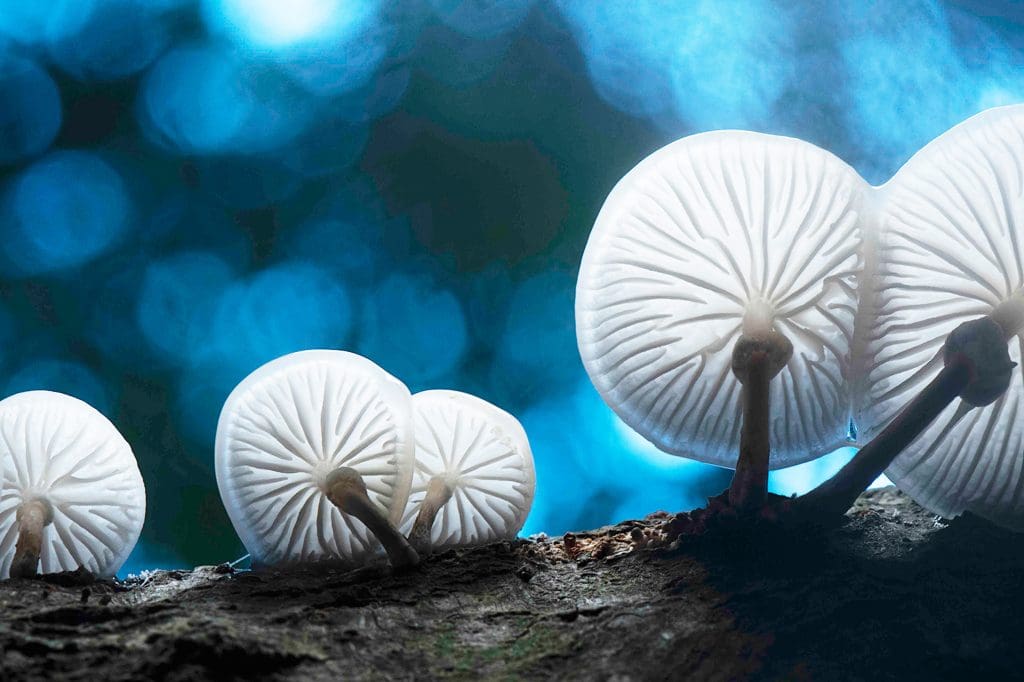
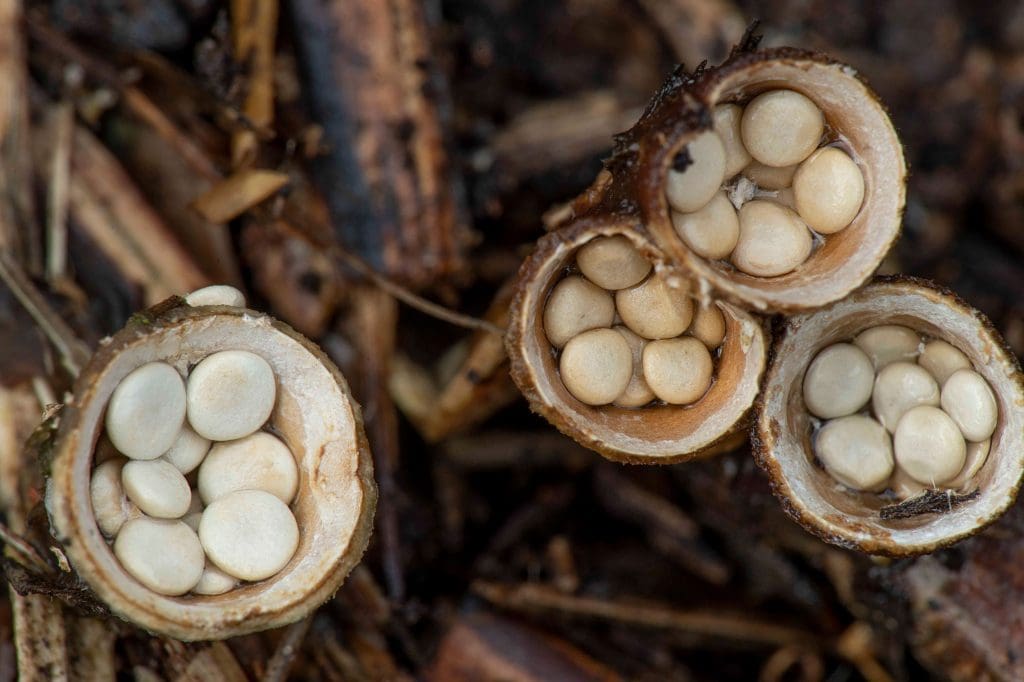
1. Fungi come in all shapes, colours and sizes. Recognise what angles work best for which type of fungus. Some, like the popular Fly Agaric or Magpie Inkcap, suit being photographed at eye level – so get low and shoot along the ground. This will diffuse your background so that their classic mushroom shape can be seen. Other species have features that suit an alternative viewpoint. Earthstar fungus look best from above, whereas Porcelain Fungus have beautiful, shiny gills, perfect for a shot taken from below.
2. Many of our fungi species are incredibly small, which means you need specialist equipment to capture them. A close-focusing macro lens enables you to show the micro world where these fungi dwell, and pick out their delicate details. Combine this lens with a tripod to keep your lens steady for super-sharp results. A pocket-sized LED light can also make a difference. Fungi tend to show up in gloomy conditions on a woodland floor. Adding a small amount of ambient or directional light can not only make photography easier but also add interest to your images.
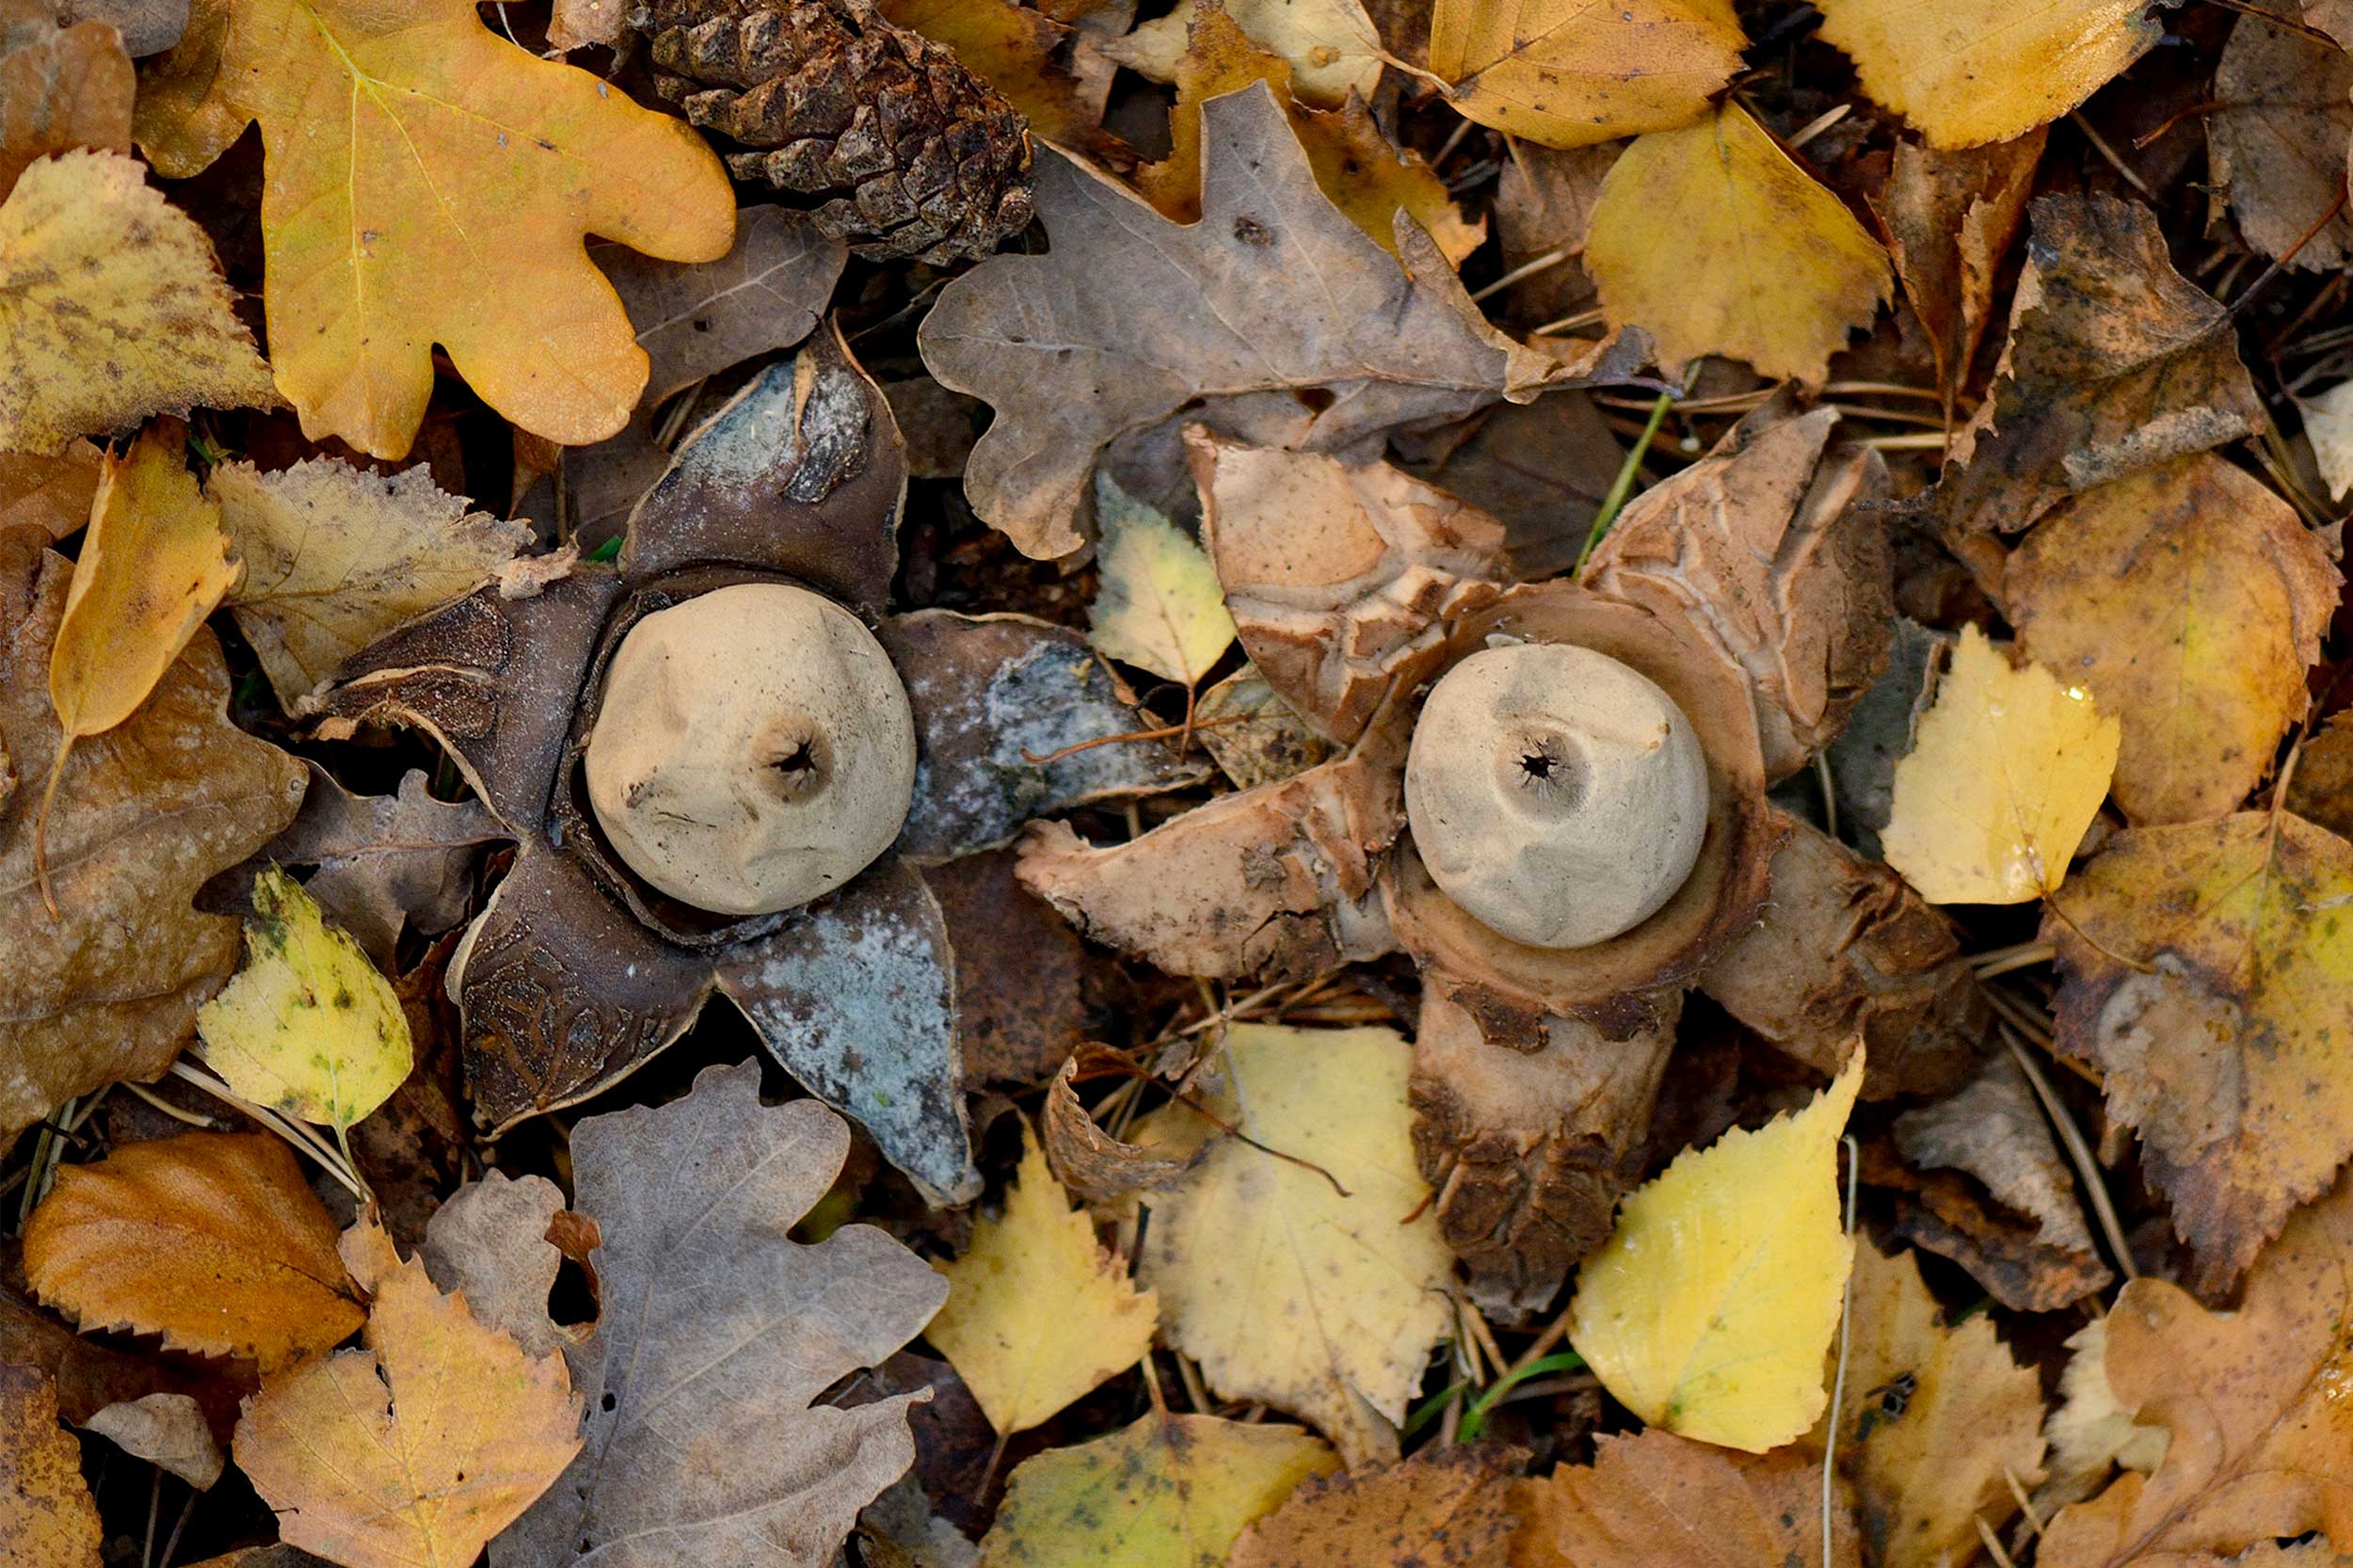
Earthstar fungus. Photo: RSPB/Ben Andrew
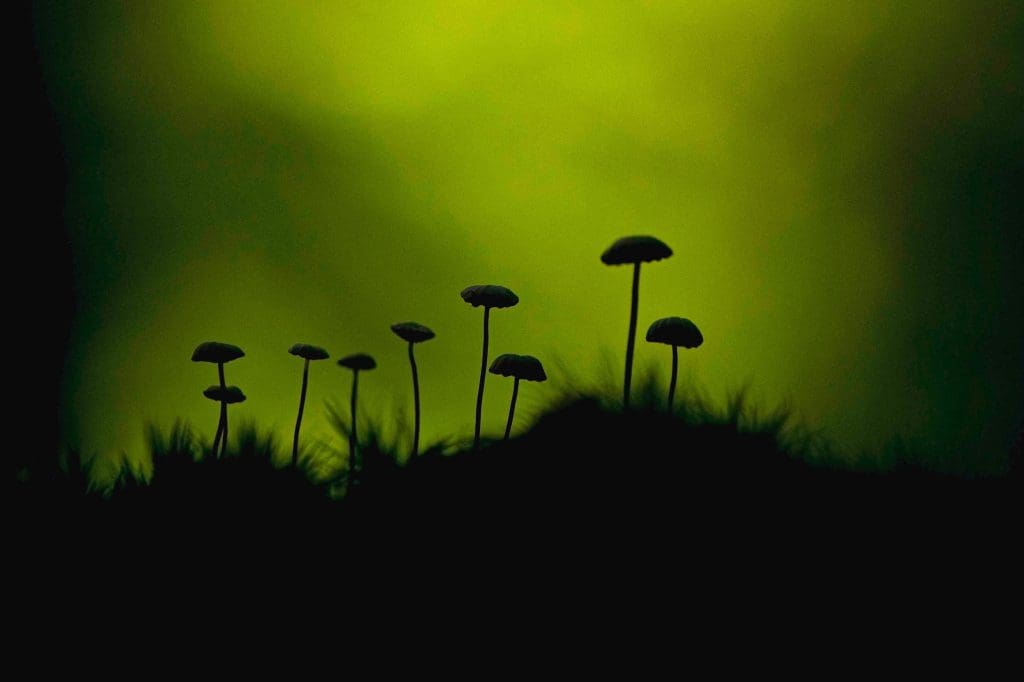
3. Sometimes, when faced with a static subject, you can struggle for ideas. Turn this into an advantage. Fungi aren’t going to run away, so you have plenty of time to experiment. Explore different light conditions during the day; stay until sunset for silhouettes or even after sunset to photograph during the ‘blue hour’. Visit during a damp but sunny morning to get some interesting textures as dew twinkles around the subject. Explore a range of lenses – maybe a fisheye can create something different or, if you’re feeling extra creative, try an in-camera double exposure!
Eyelash, lemon and green elf fungus – discover more about some of the fungi you might see this season!
You might also like
Answering your photography questions
Wood wide web